Lab 03 - Intro to the Arduino IDE
Intro
In this lab, we are going to be using the Arduino IDE for the first time. The Arduino IDE is the piece of software responsible for translating the code you write into machine code that the microcontroller can understand (this function by itself is called the compiler) and then uploading it to your arduino, so that your program can actually run (called "flashing" the arduino).
Installation
THIS STEP IS ONLY FOR YOUR OWN COMPUTER, THE LAB COMPUTERS ALREADY HAVE THE ARDUINO IDE PREINSTALLED.
The installer for the arduino IDE is located at : https://www.arduino.cc/en/software
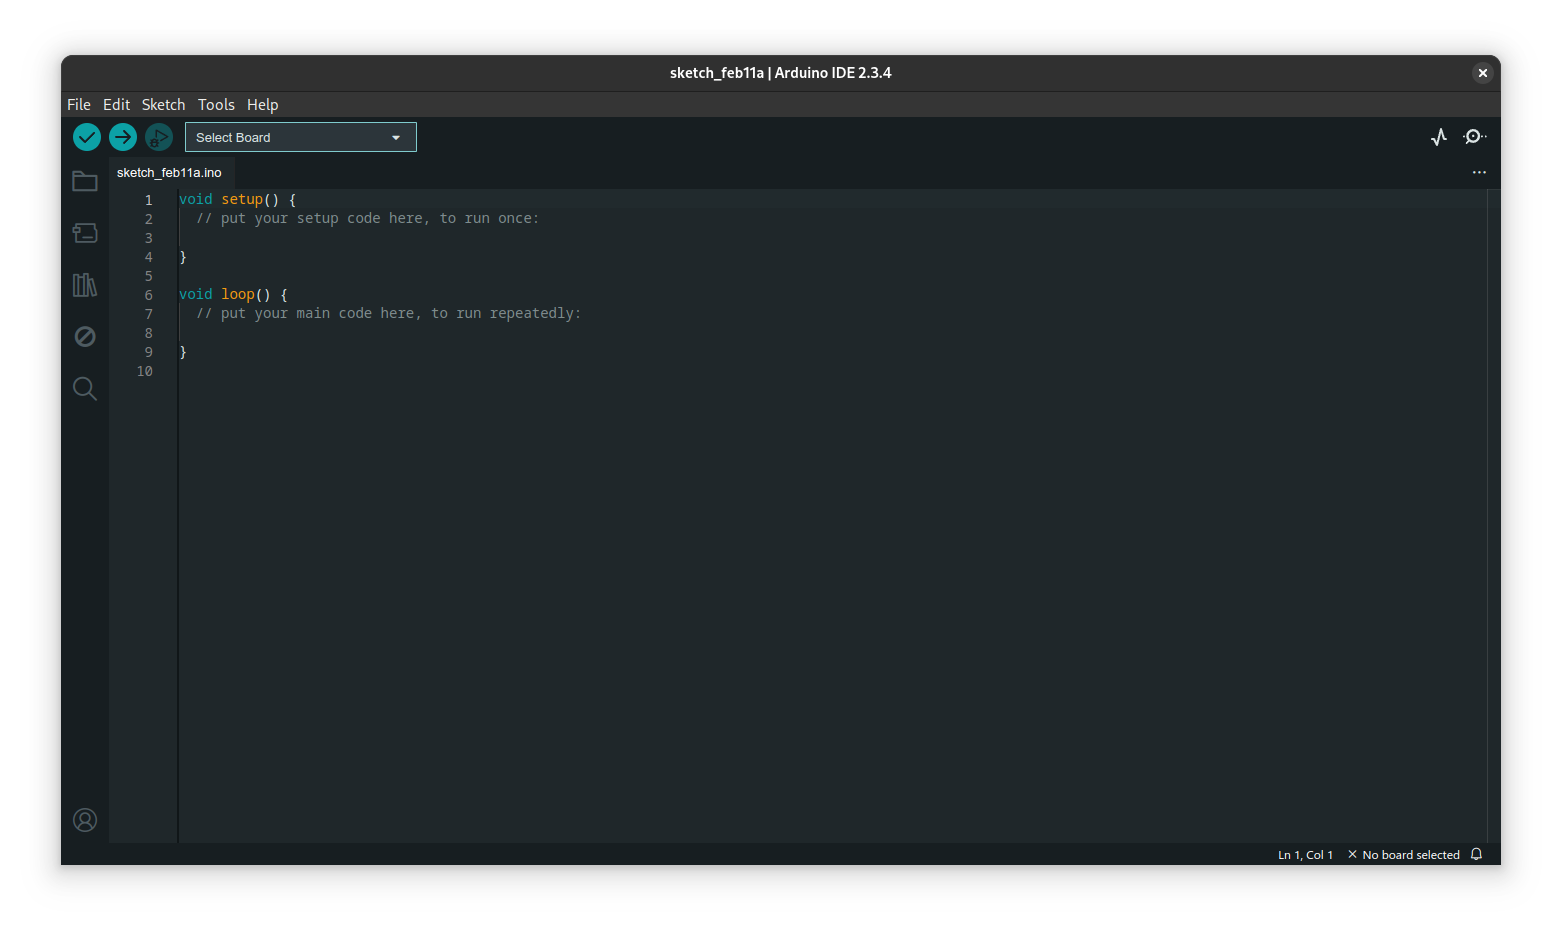
On first run, the IDE will look like this:
 Once installed, download the SIK.zip file, located on blackboard, and install it into the IDE using Sketch>Include Library>Add a .zip library, here:

this will add the examples into File>Examples>Sparkfun Inventors Kit.
Connecting your Arduino
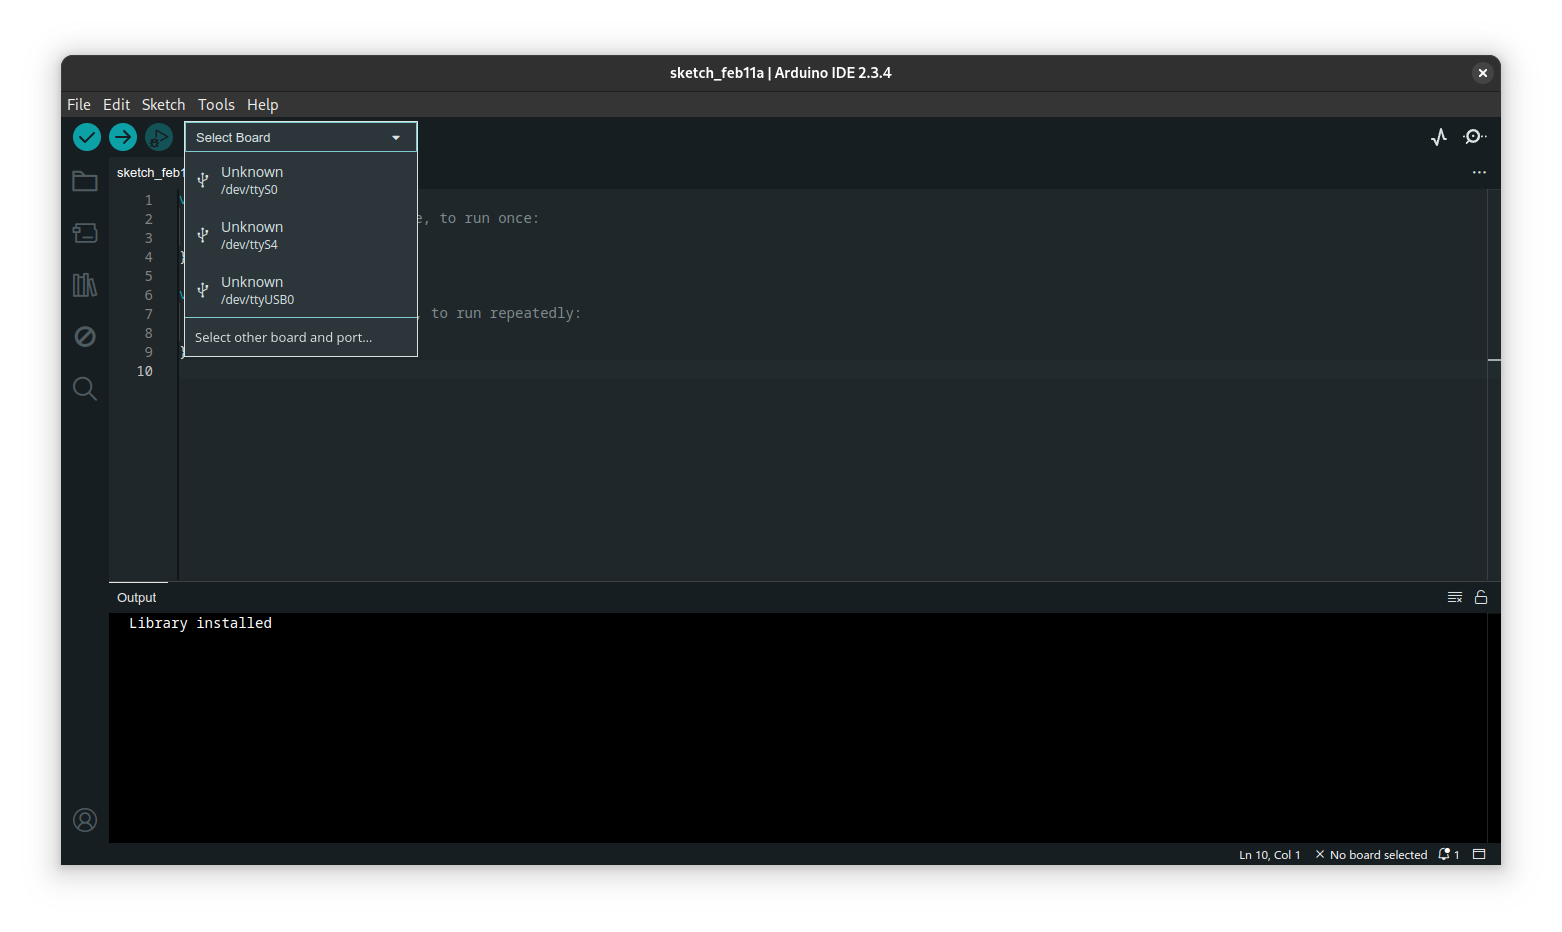
When you connect your arduino to usb, it may be detect in the "Select Board" dropdown automatically (it would say something other than "Select Board"), if it isn't:

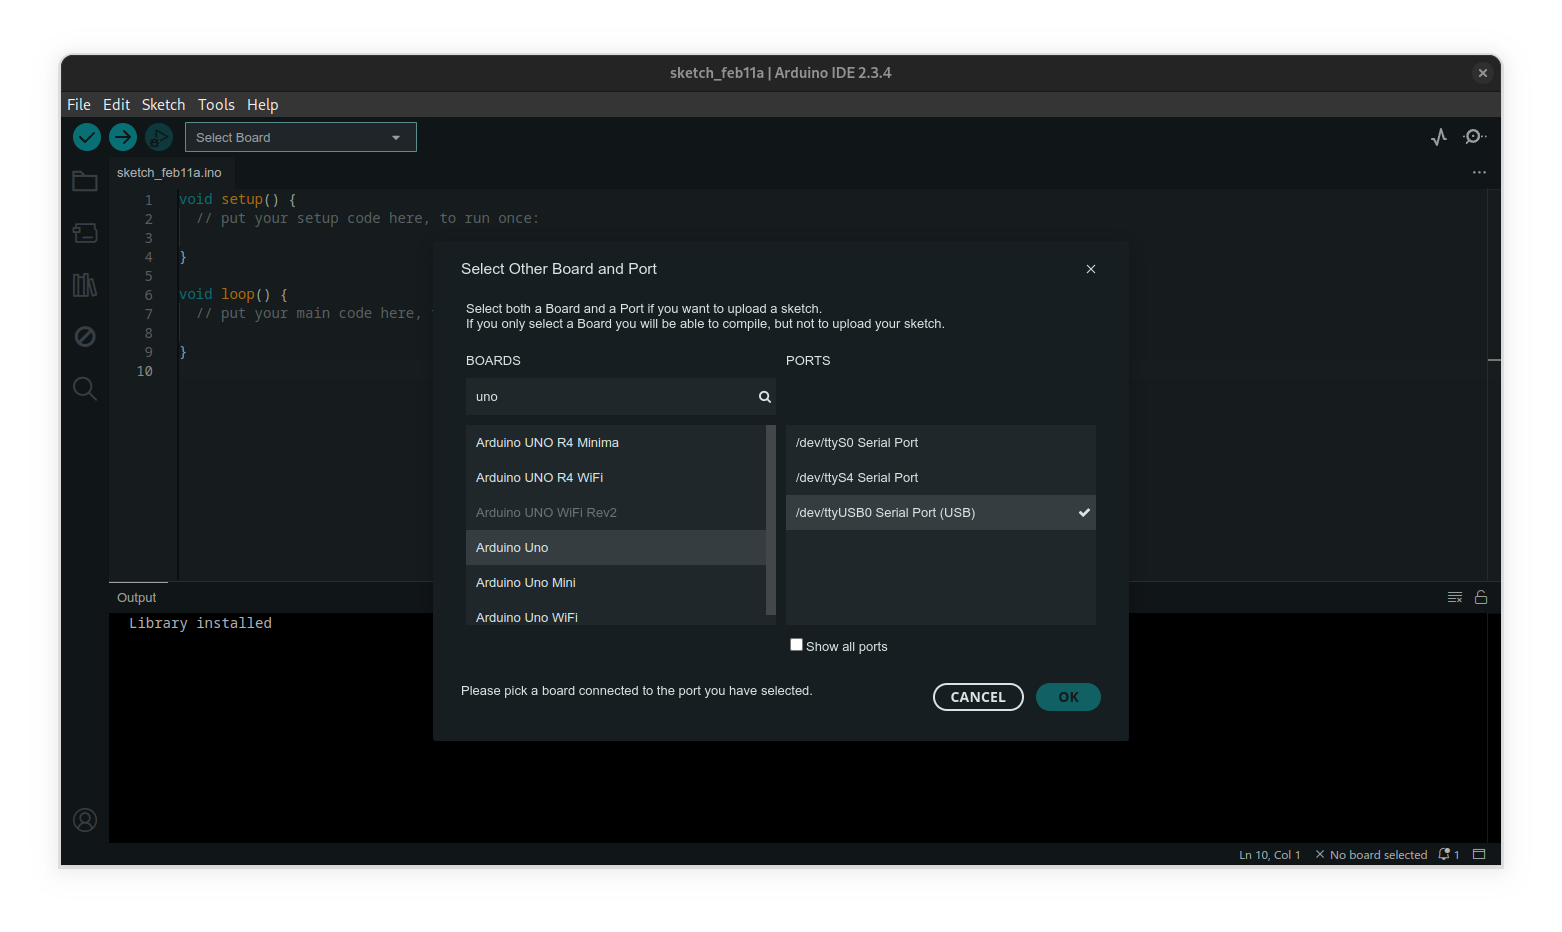
In the "Search Board" field type in Uno, and select Arduino Uno from the results:
Now, select File>Examples>01 Basics>Blink which will open the following program:
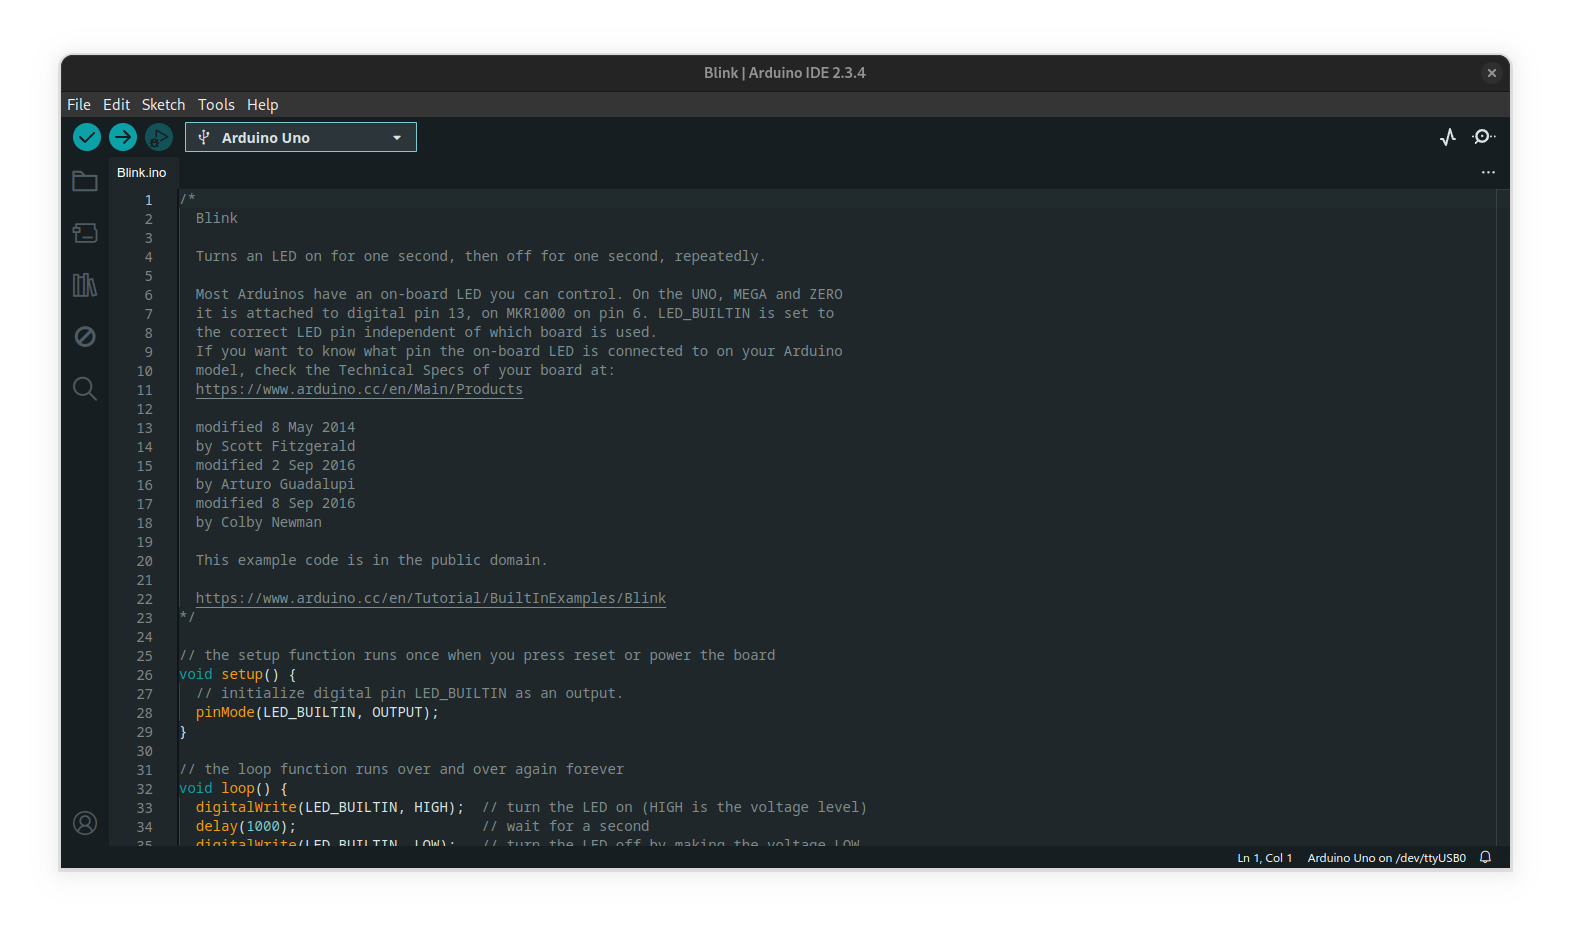
click the upload arrow in the top left next to the checkmark, and wait a few seconds for the program to be uploaded to your Arduino. When done, you should see the led labeled 13 on the Arduino blinking on and off once per second. Congratulations! You've just written your first program to an Arduino!.