Lab 01
Azure Virtual Machine Introduction
Overview
This assignment creates the first virtual machine in Azure. This lab demonstrates the process of creating a Windows 2016 Server virtual machine in Azure, connecting to the server using Remote Desktop, and then removing the virtual machine.
Deliverables / What to submit
Take two screen snapshots as listed in the directions.
-
A screenshot of the Azure Portal showing the running Windows 2016 Server instance.
-
A screen snapshot of the Windows 10/11 workstation’s Remote Desktop connection to the Windows 2016 Server’s public IPV4 address.
- A screenshot of your deleted VM.
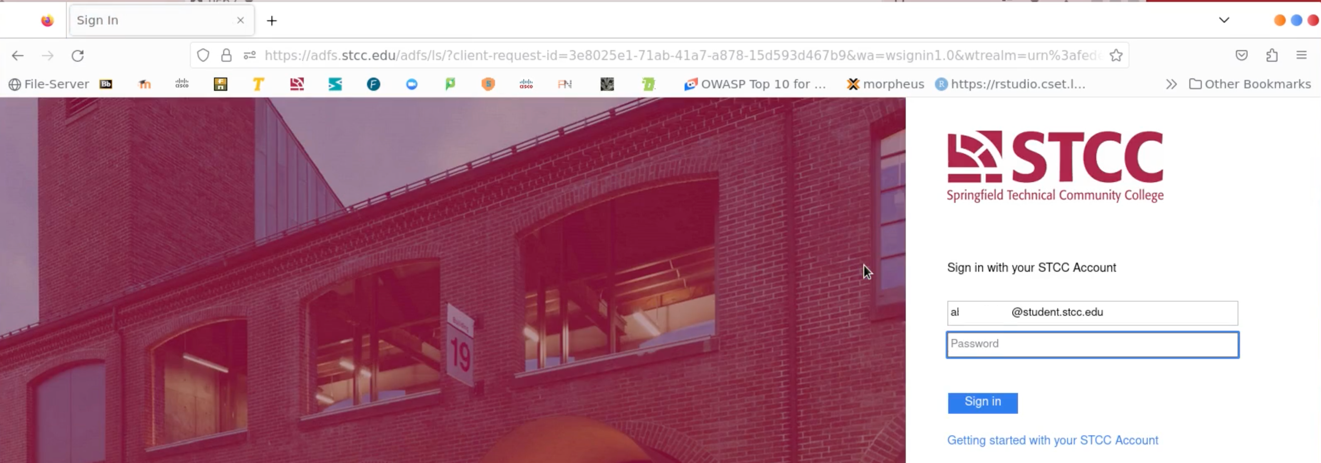
Log into the Azure for Education Portal
Log into the Azure Education Portal using your STCC credentials.
Procedure – Create an Azure Windows 2016 Server
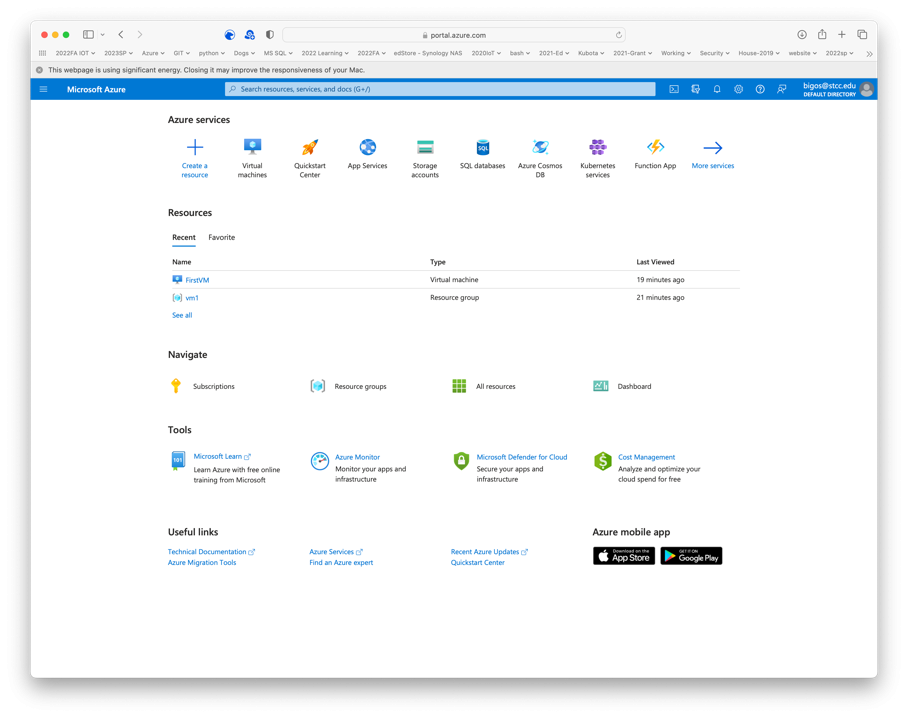
-
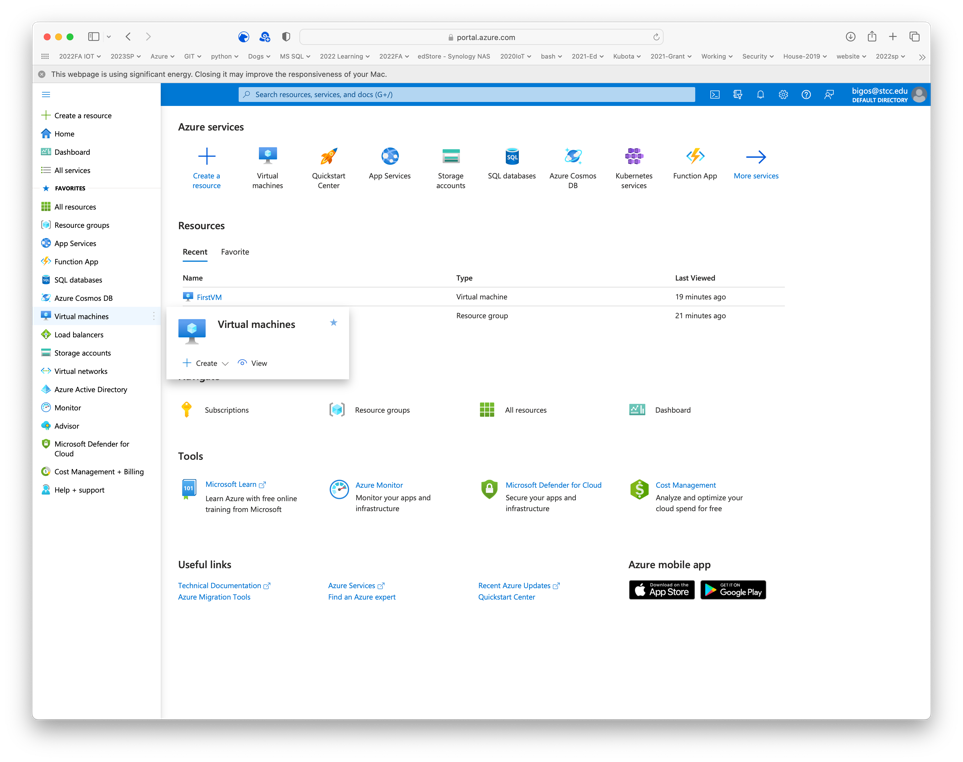
The portal page lists common tasks and resources.
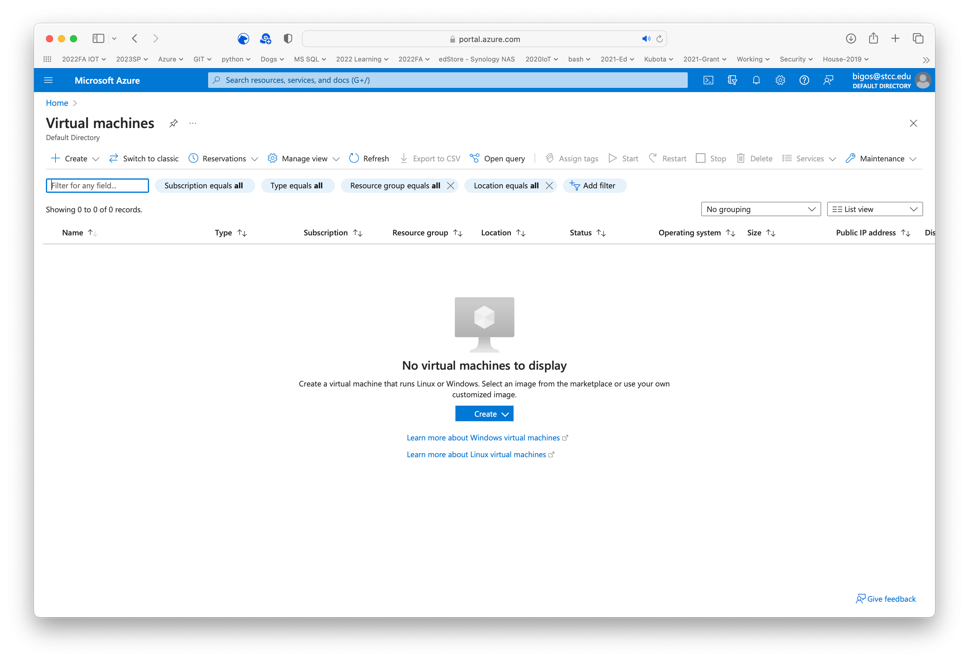
-
Select Virtual Machines. No virtual machines are listed.

-
Choose Create to create the first virtual machine.
-
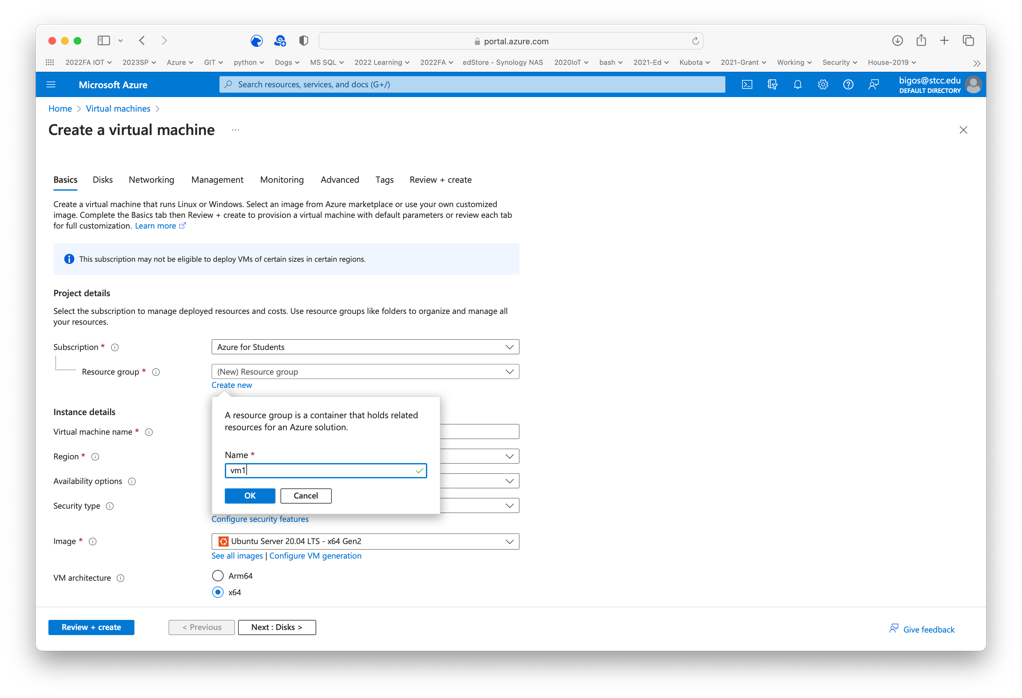
Choose the Create new link to create a new resource group.

-
Select a name for the resource group. This lab used “vm1”. Select OK.

-
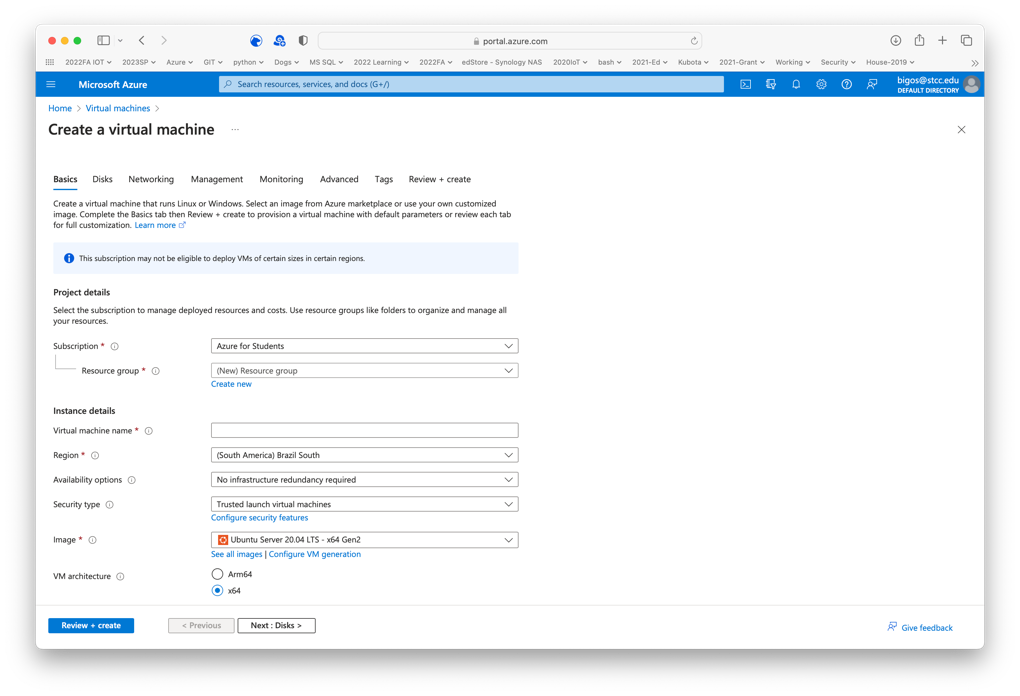
Choose the US East 1 region.
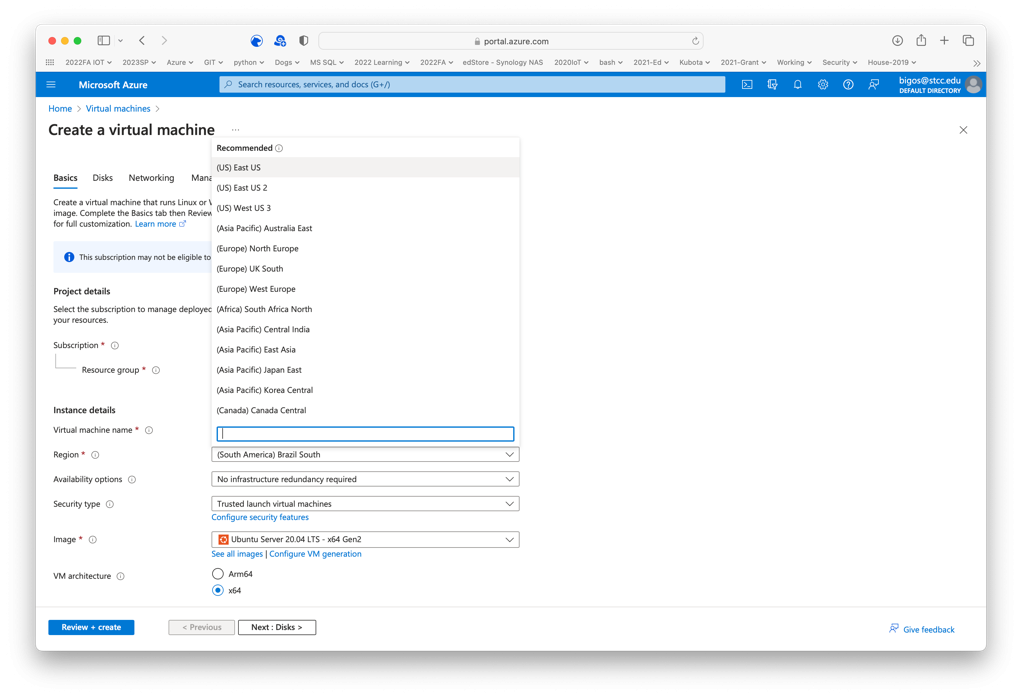
-
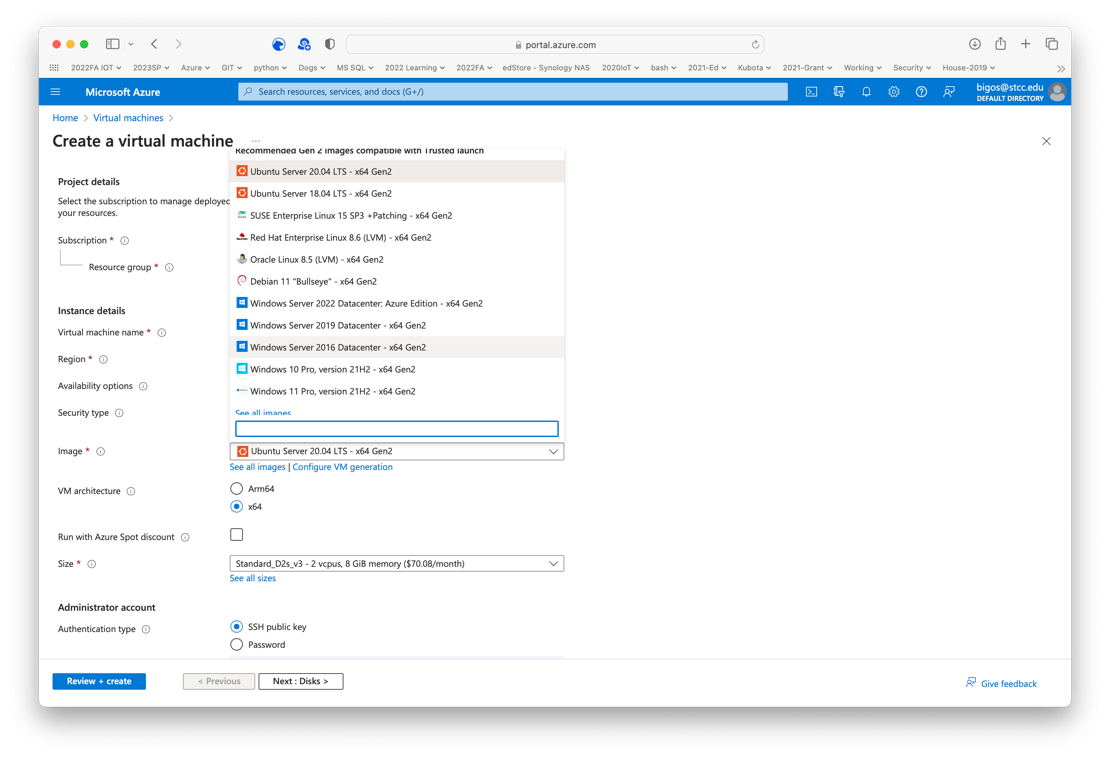
Select the Image drop-down to select a new operating system image. Choose Windows 2016 data center for the operating system.
-
Enter a username for the server administrator account.
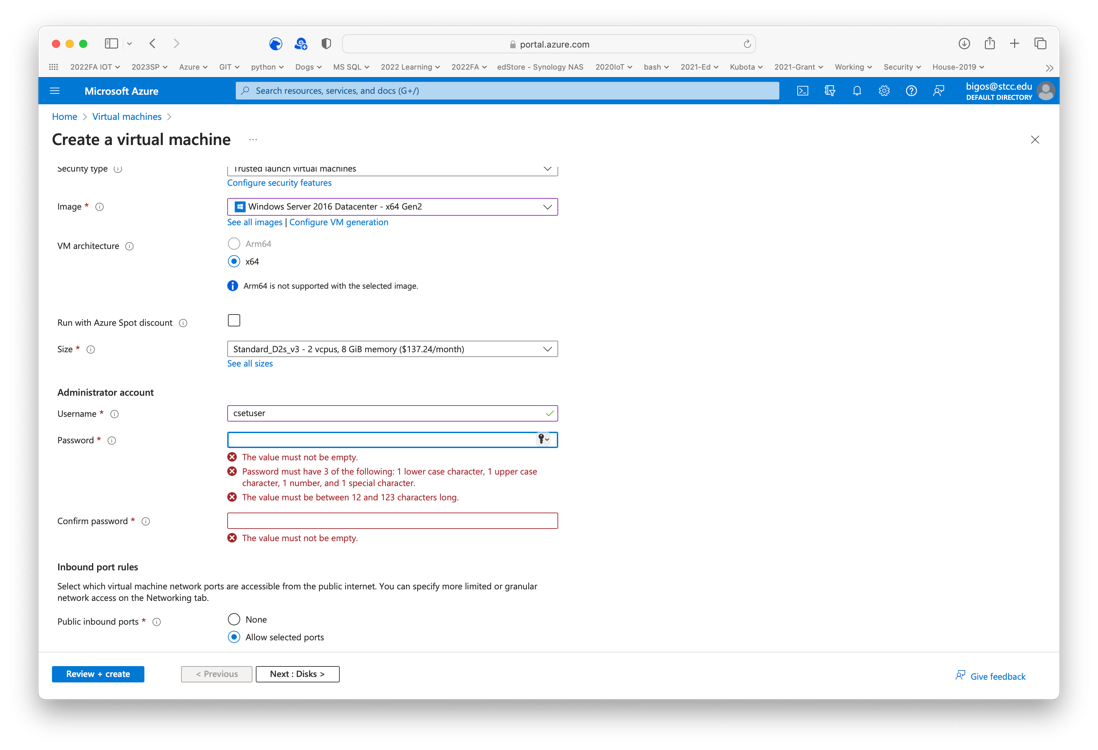
-
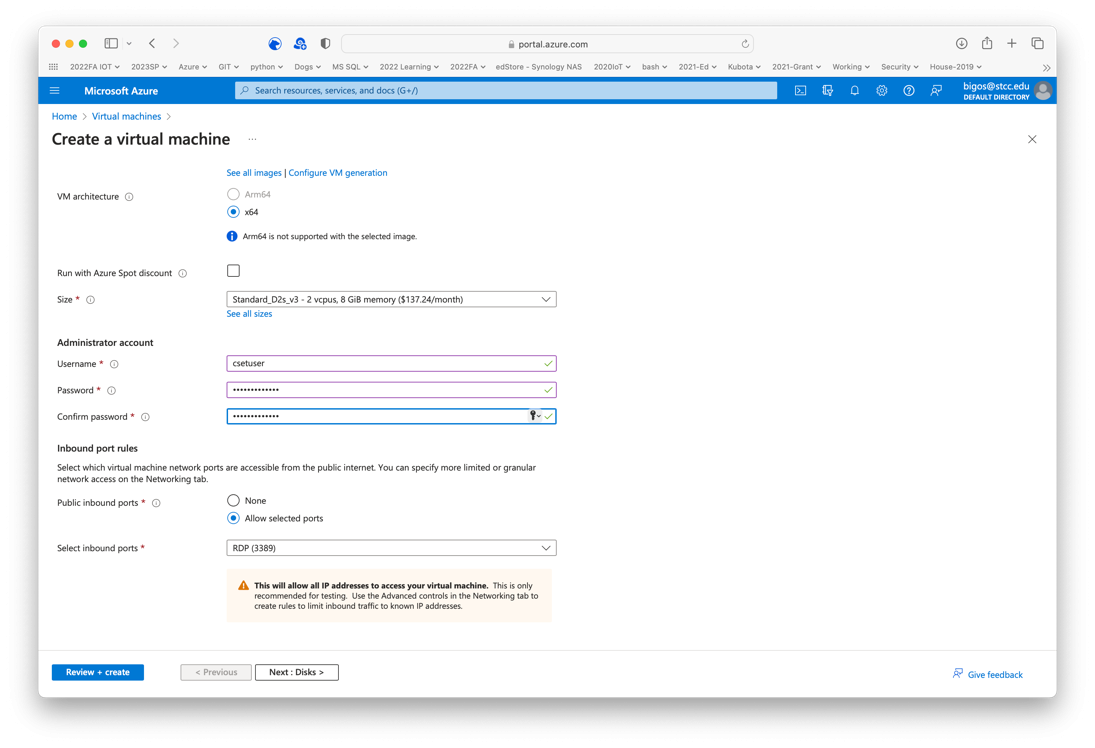
Enter a password. This lab used RaspDell@7654X for the password. This virtual machine will be exposed to the Internet so a complex and secure password is necessary. Use your password, but be sure to record it somewhere.
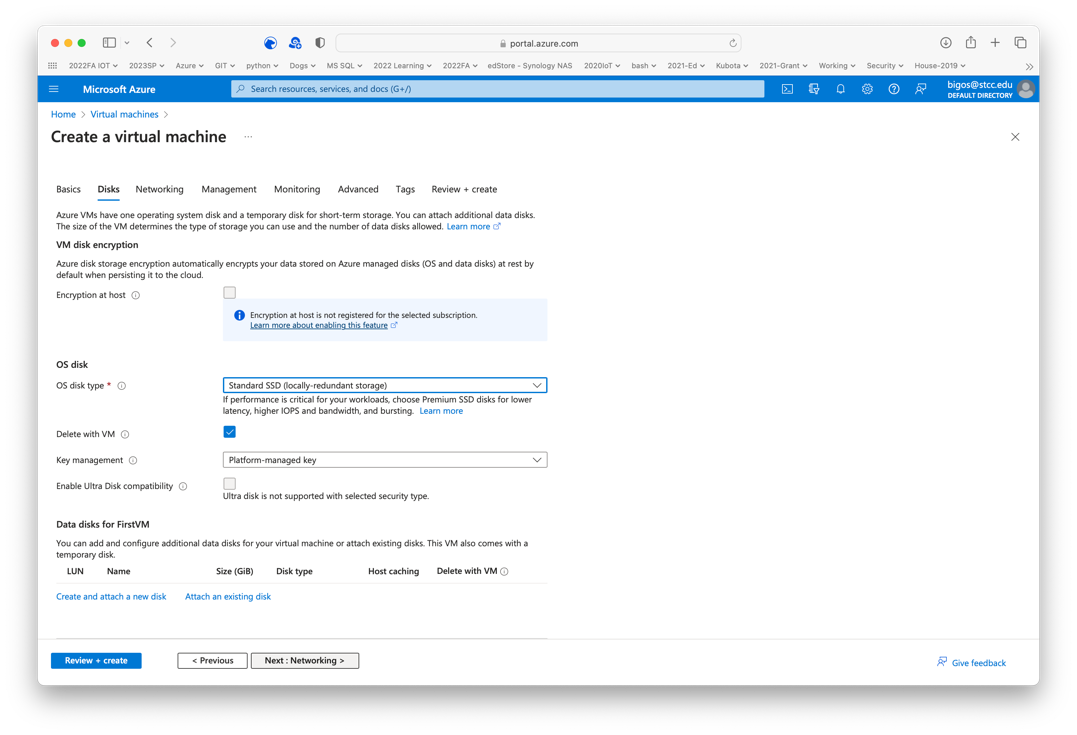
Select Next Disks at the bottom of the page.
-
Choose a standard SSD for the disk.

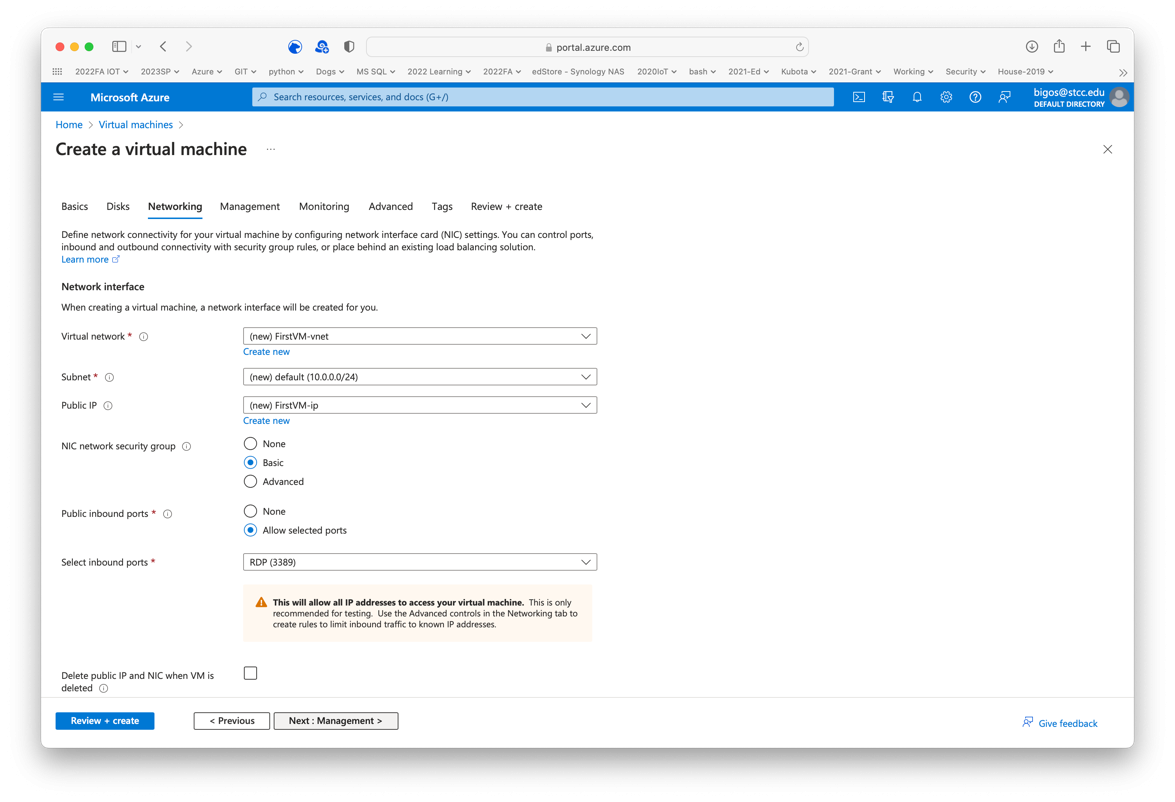
Select Next Networking at the bottom of the page.
-
Review the default network settings. No changes are required.
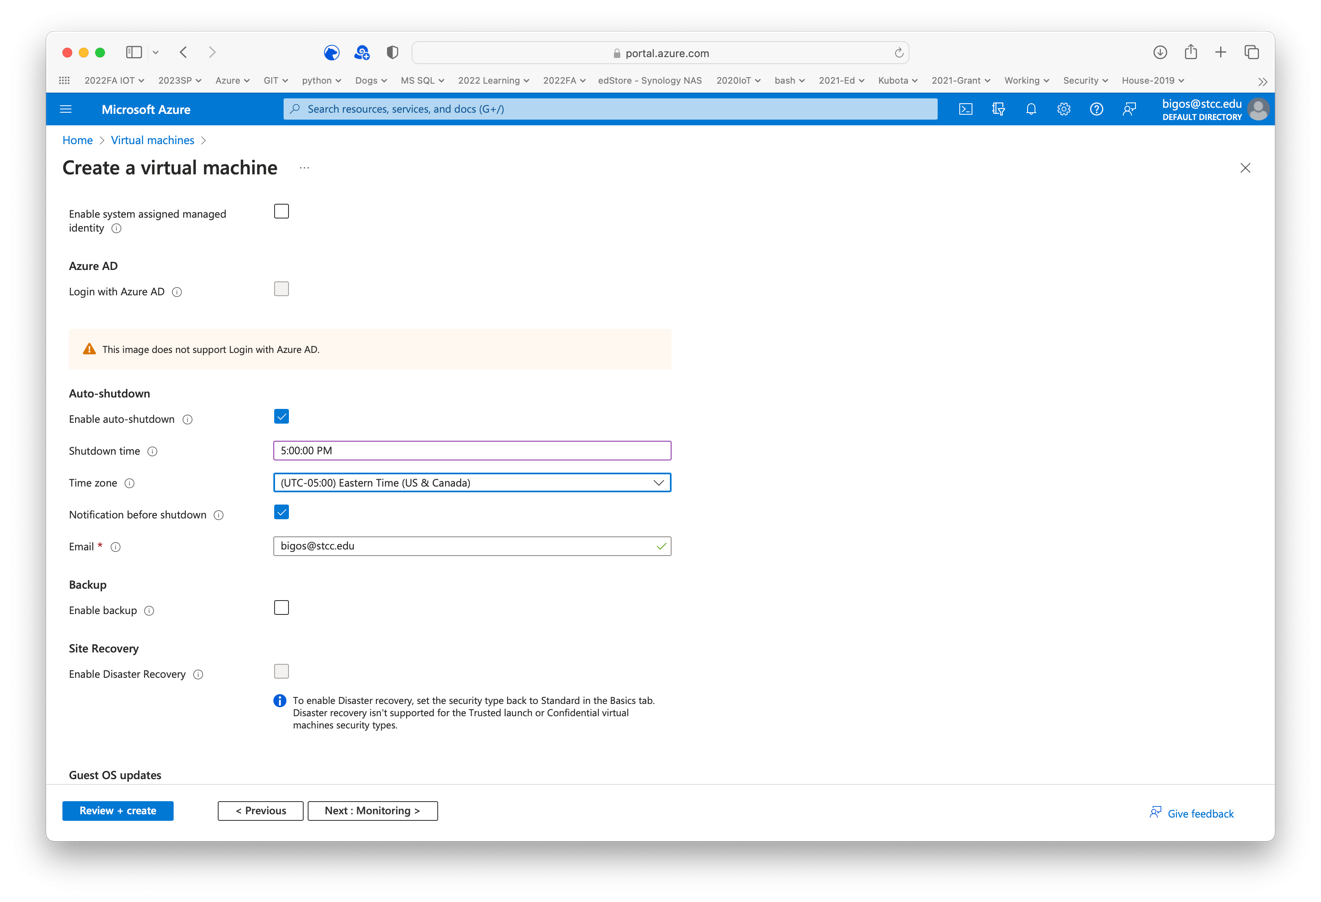
Select Next Management at the bottom of the page.
-
Enable Auto Shutdown. Set the time to 7:00 PM EST.
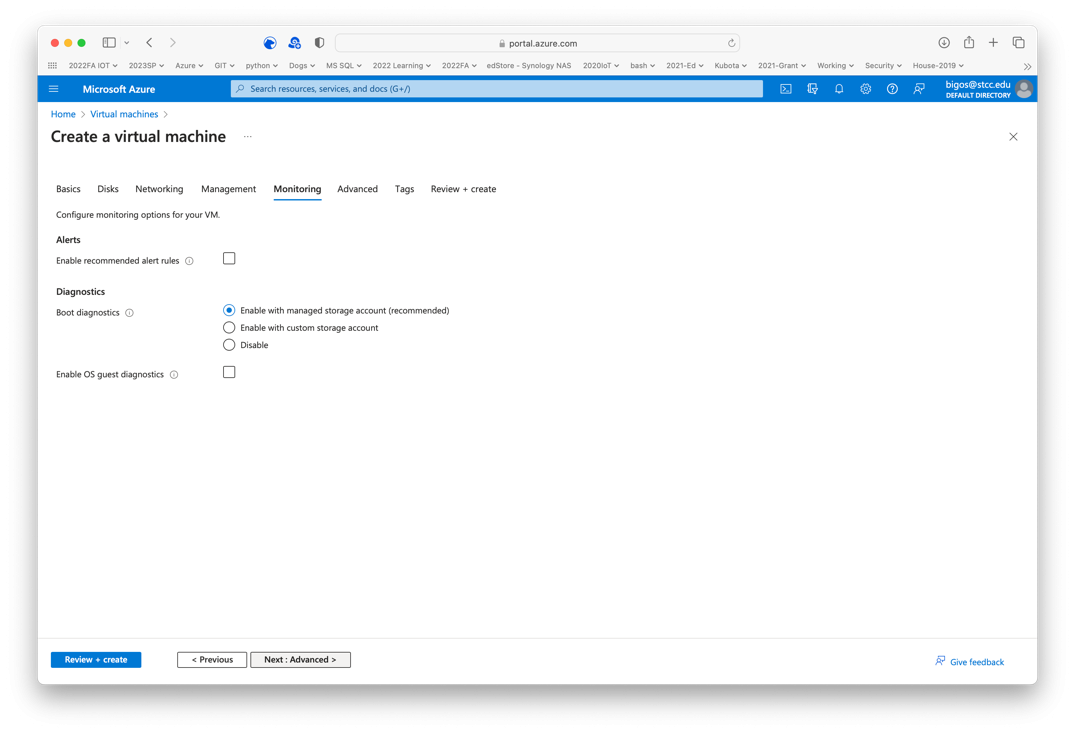
Select Next Monitoring at the bottom of the page.
-
Review the monitoring options. No changes are necessary.
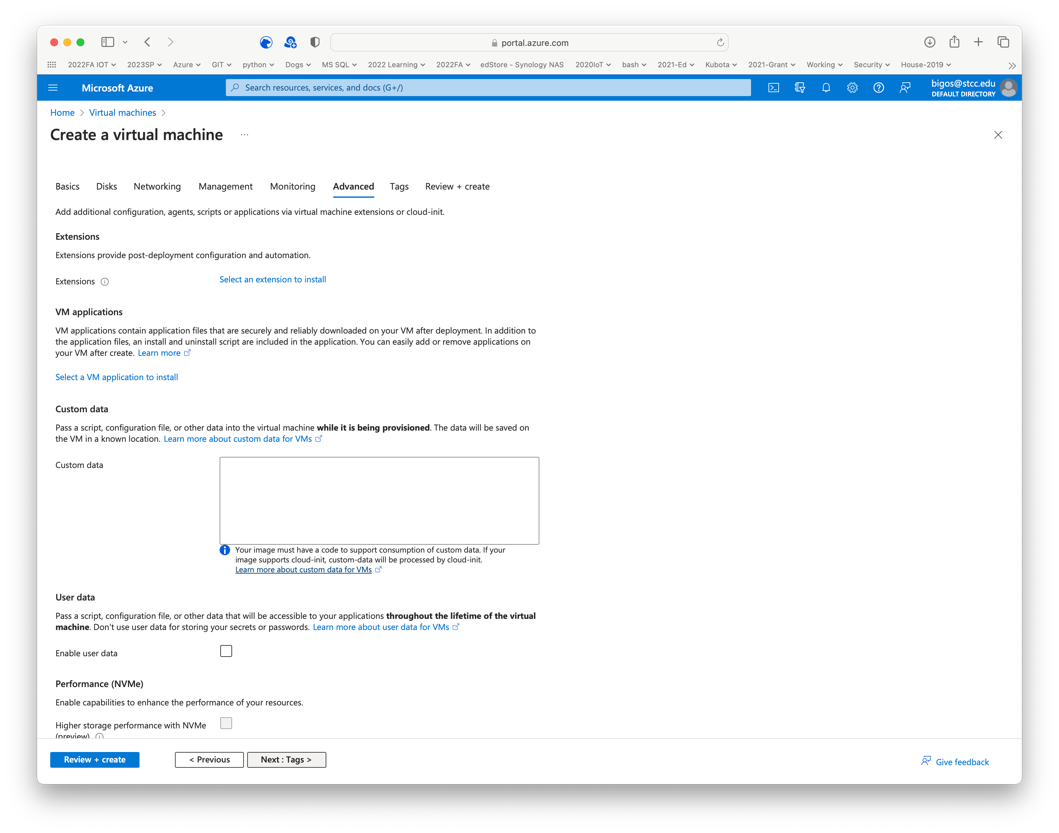
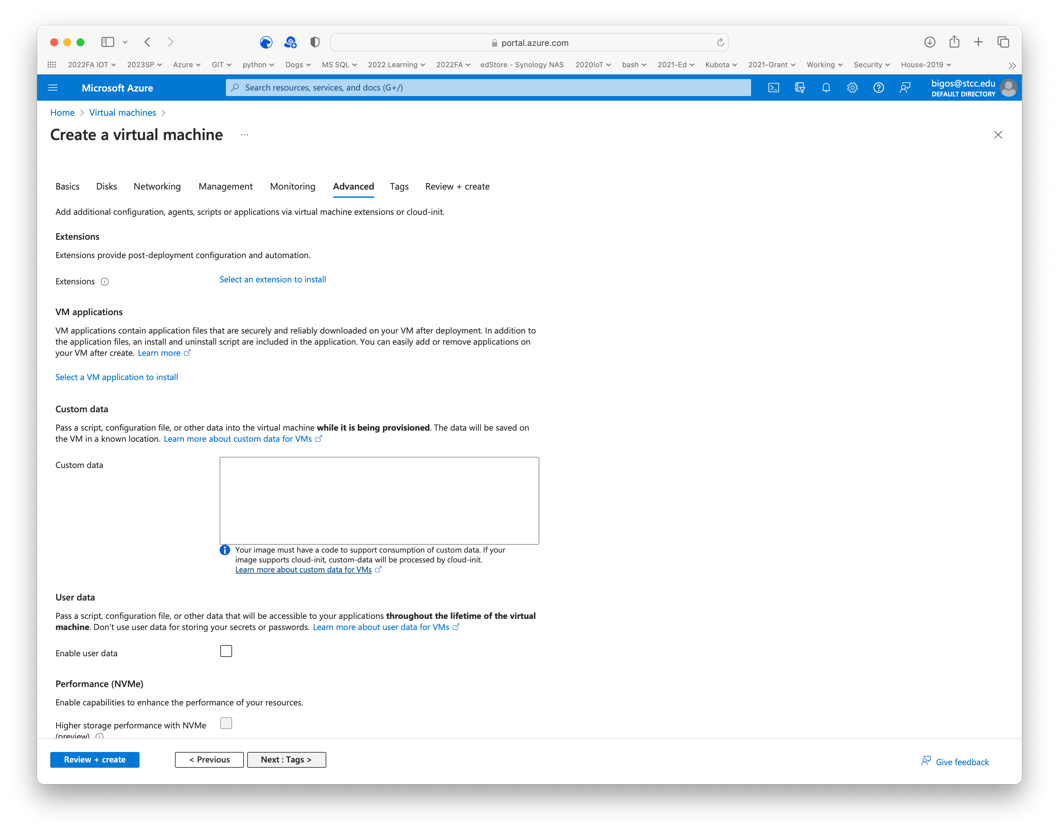
Select Next Advanced at the bottom of the page.
-
Review the options on the Advanced page.
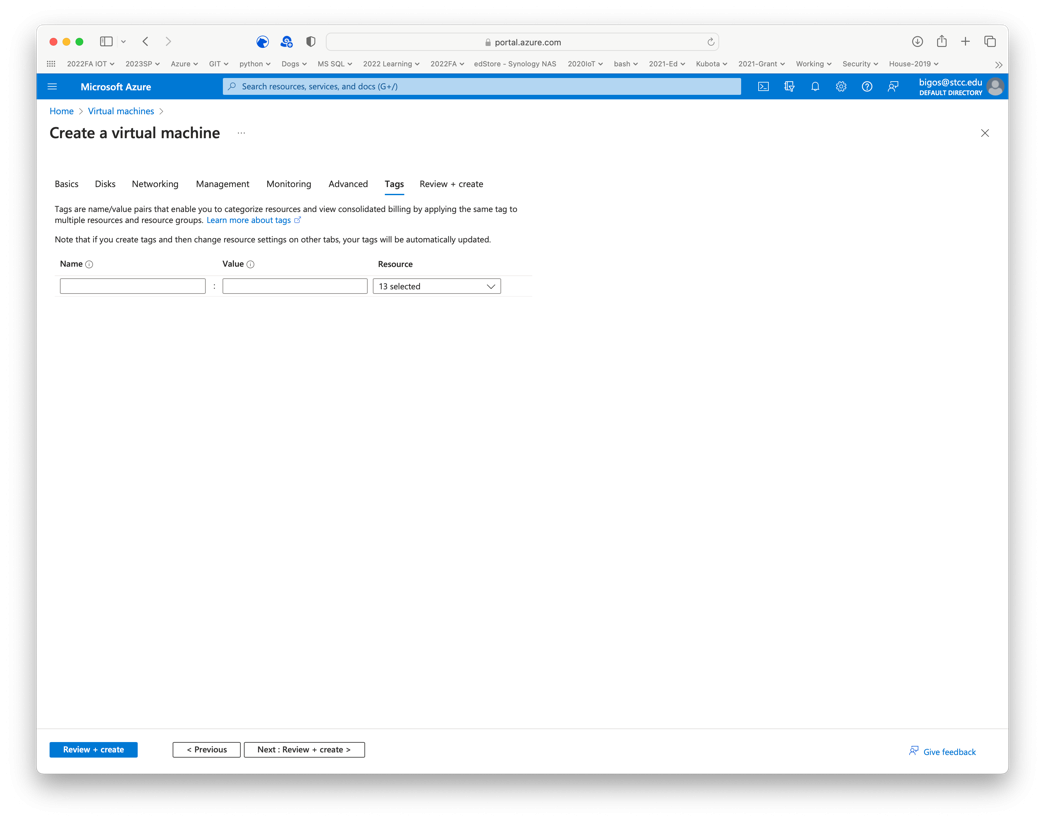
Select Next Tags at the bottom of the page.
-
No tags will be specified for this virtual machine.
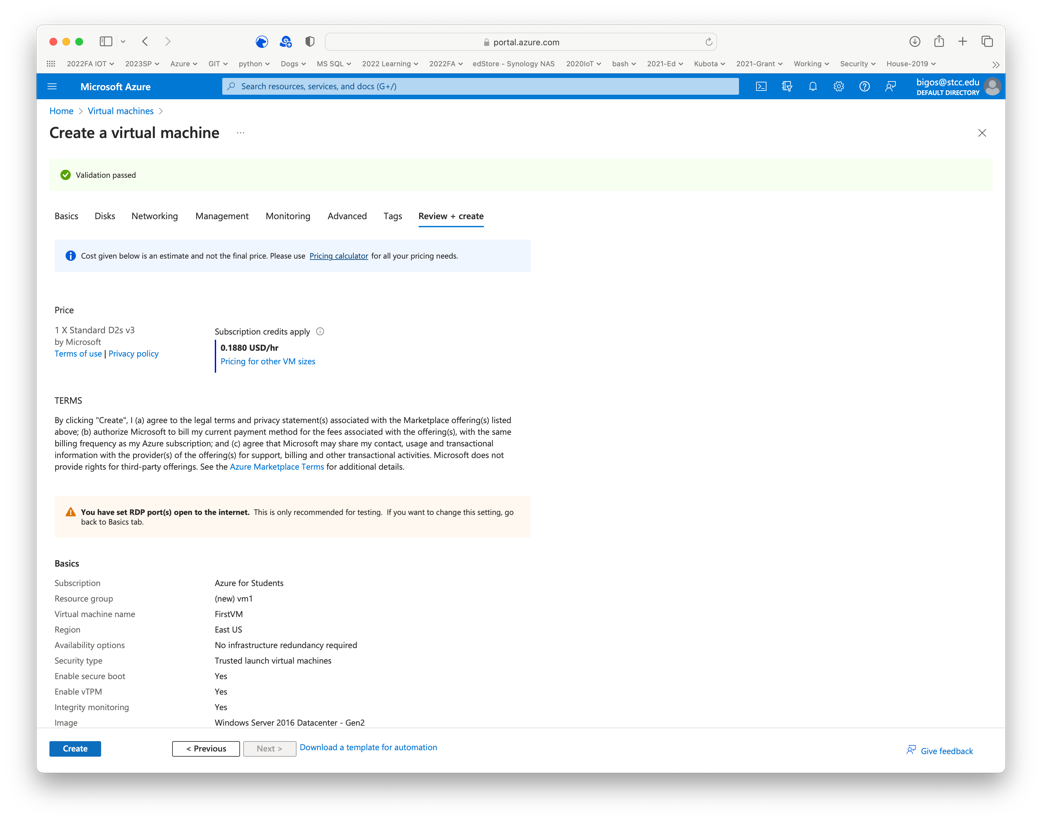
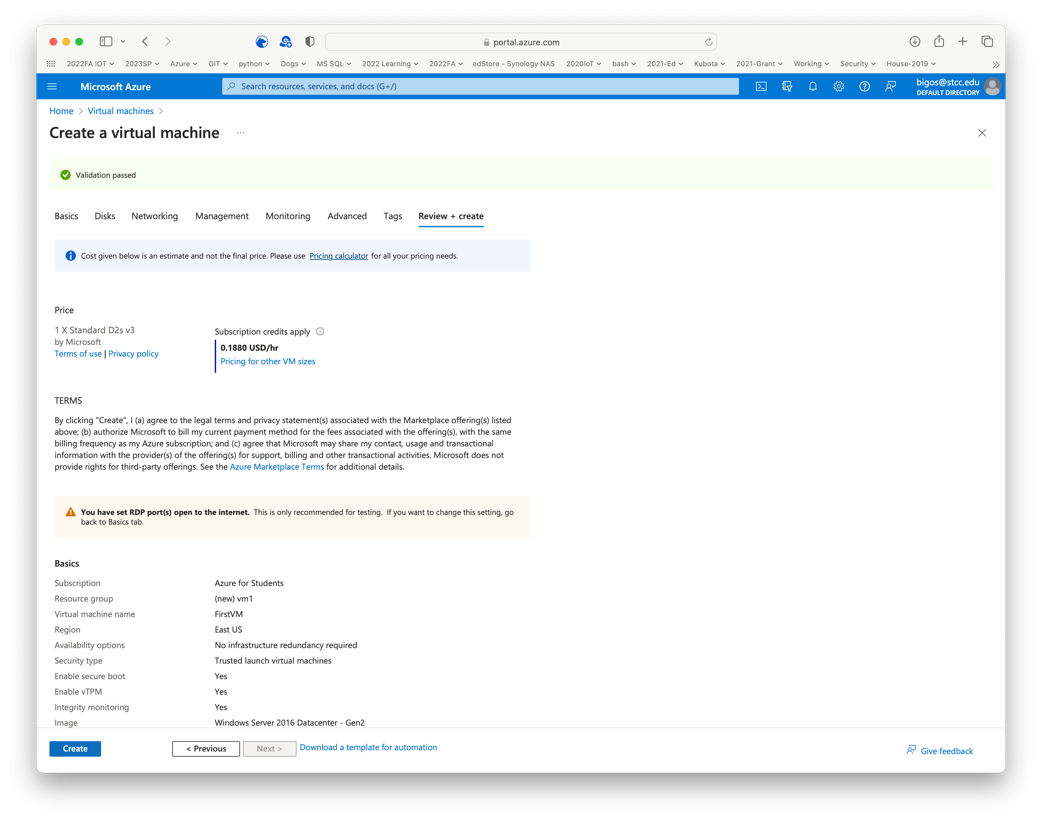
Select Next Review Create at the bottom of the page.
-
Review the specification of the virtual machine. Azure runs a validation check on the specification. Wait for the process to complete.

Validation completed.
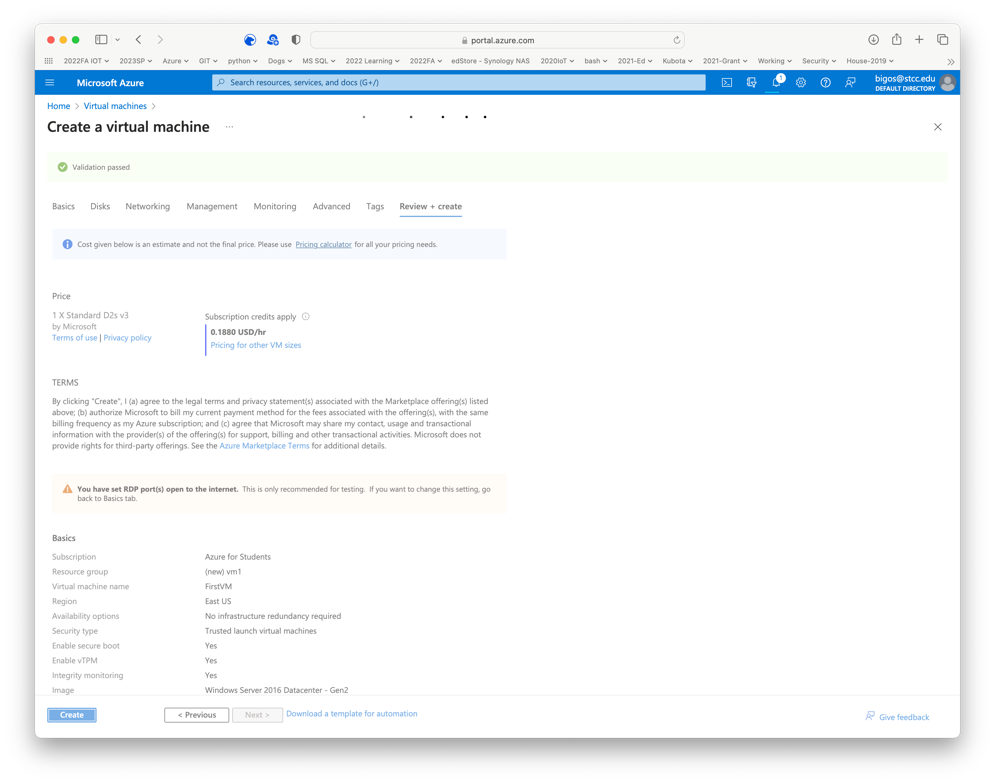
-
Choose Create to build and start the virtual machine.

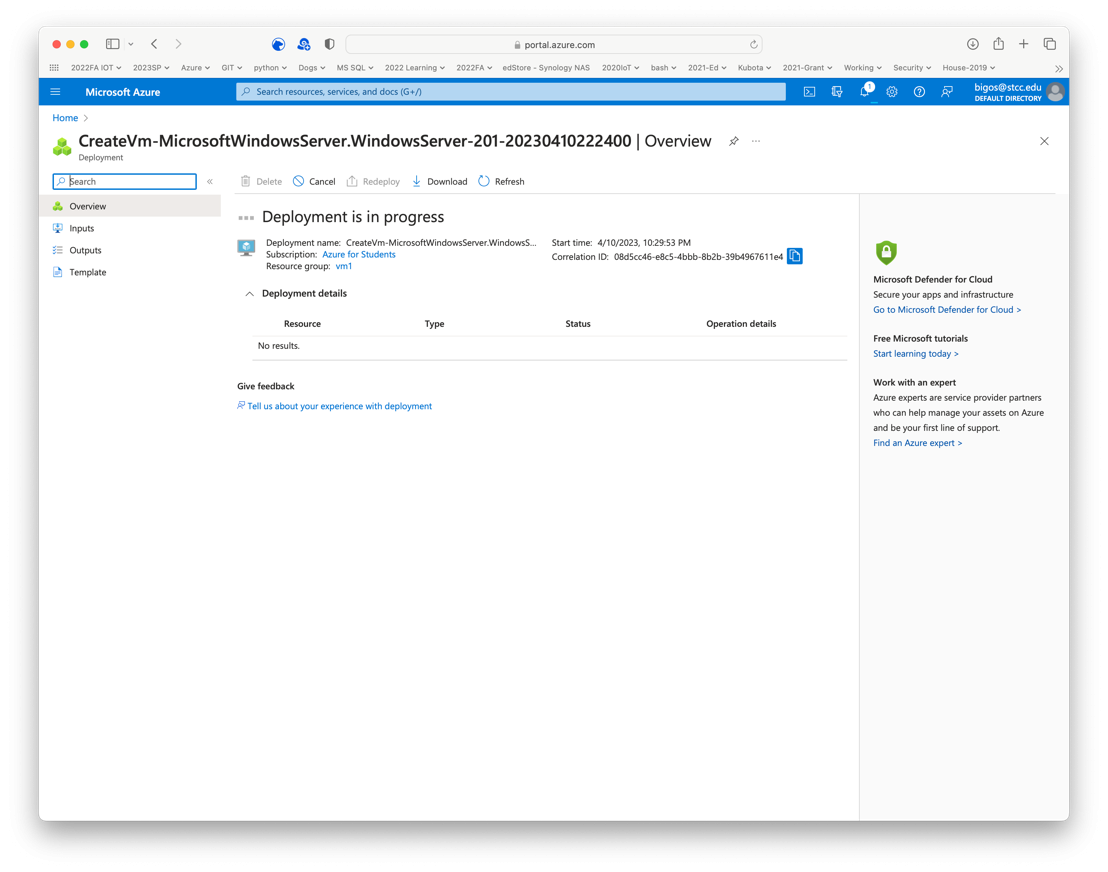
-
Wait for the deployment to complete.
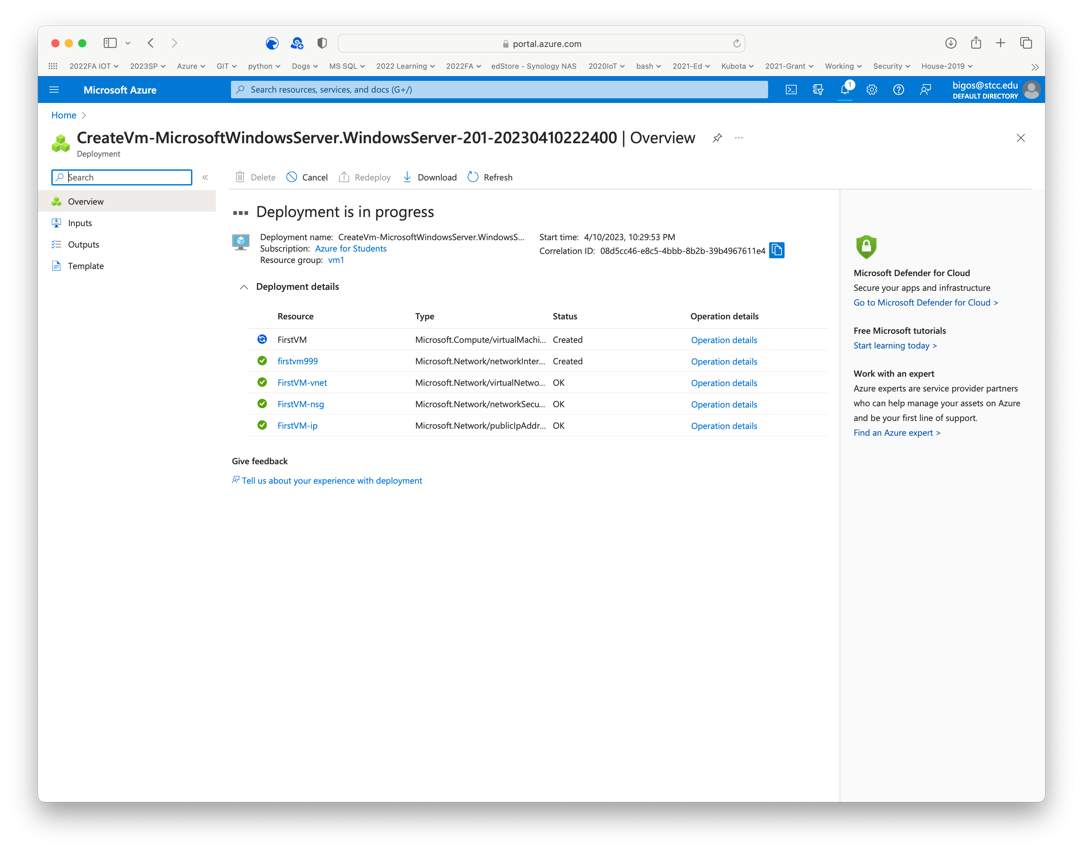
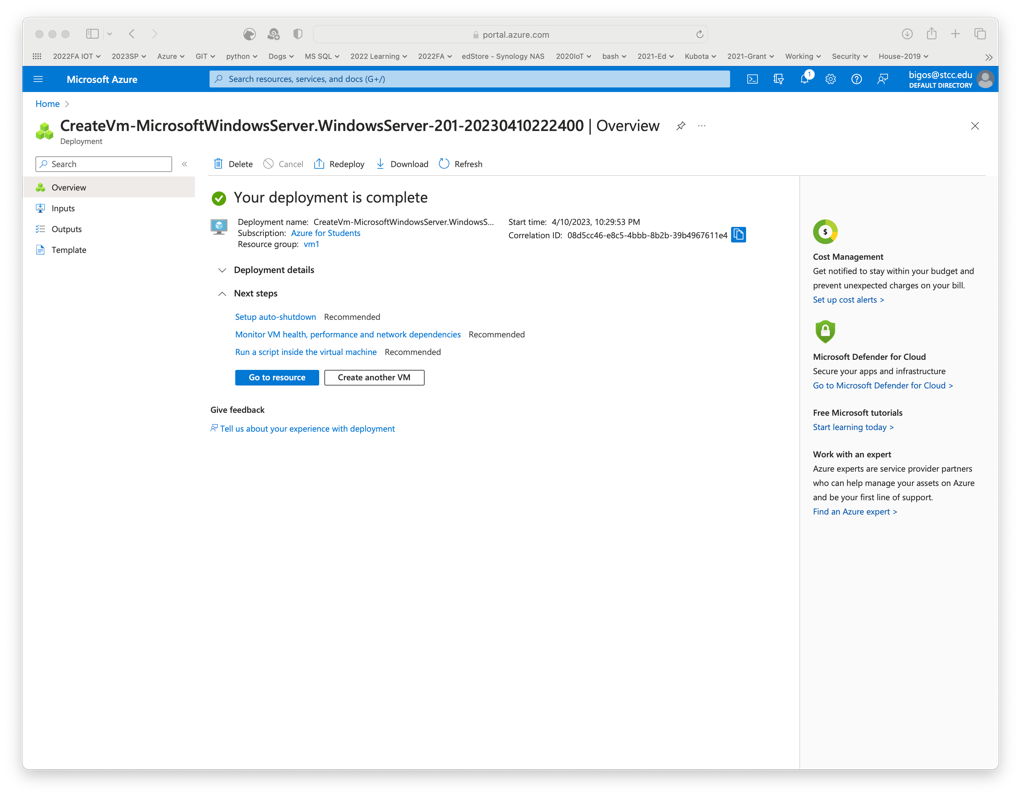
-
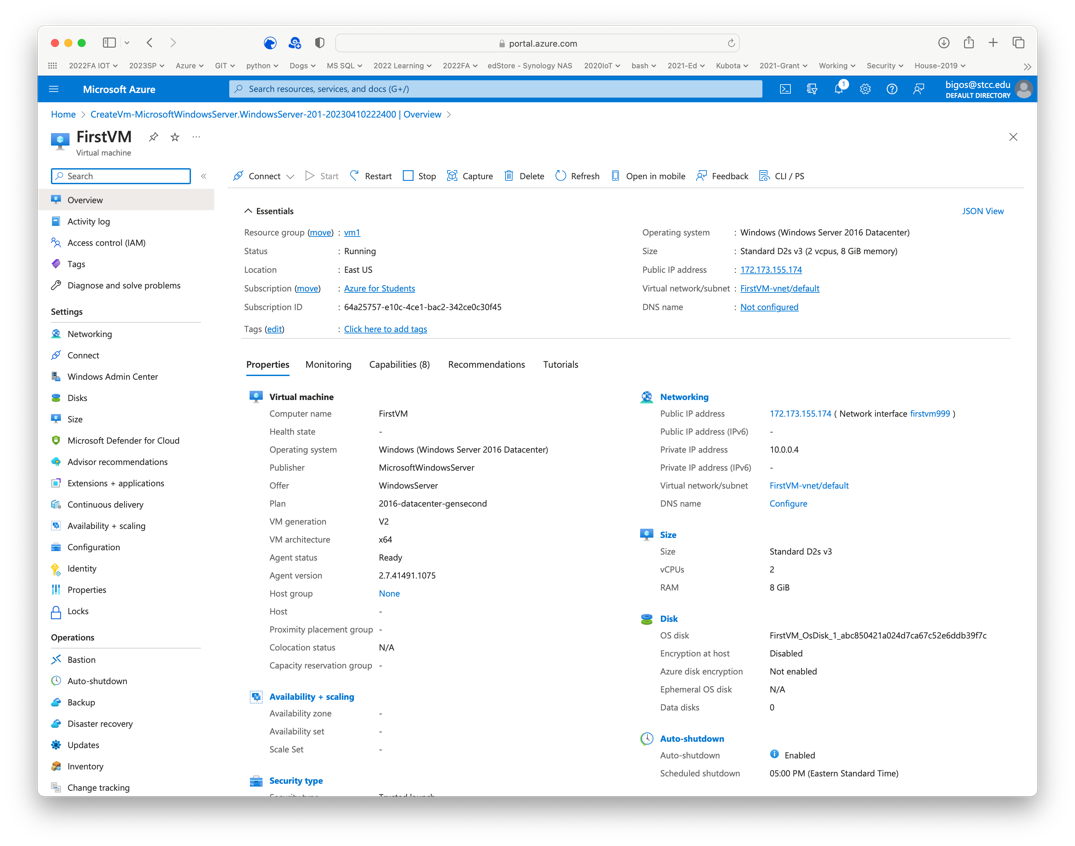
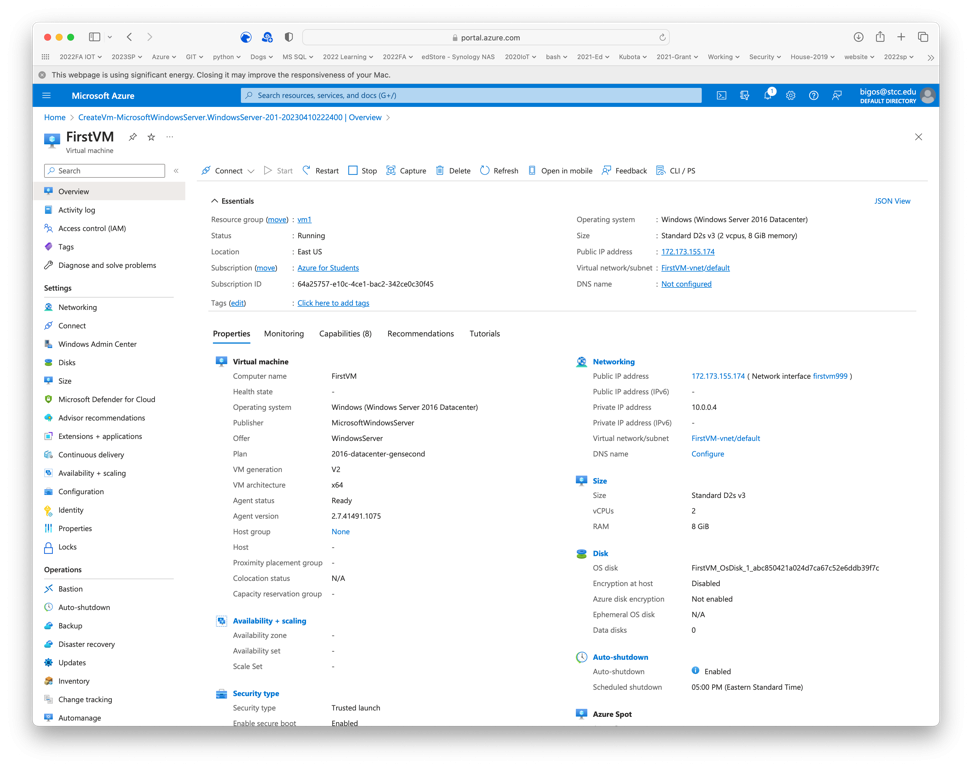
The deployment is complete. The virtual machine is running. Choose Go To Resource.

-
Review the running virtual machine’s specifications. Note the public IPV4 address.

STOP. Take a screen snapshot of this screen for the lab submission.
-
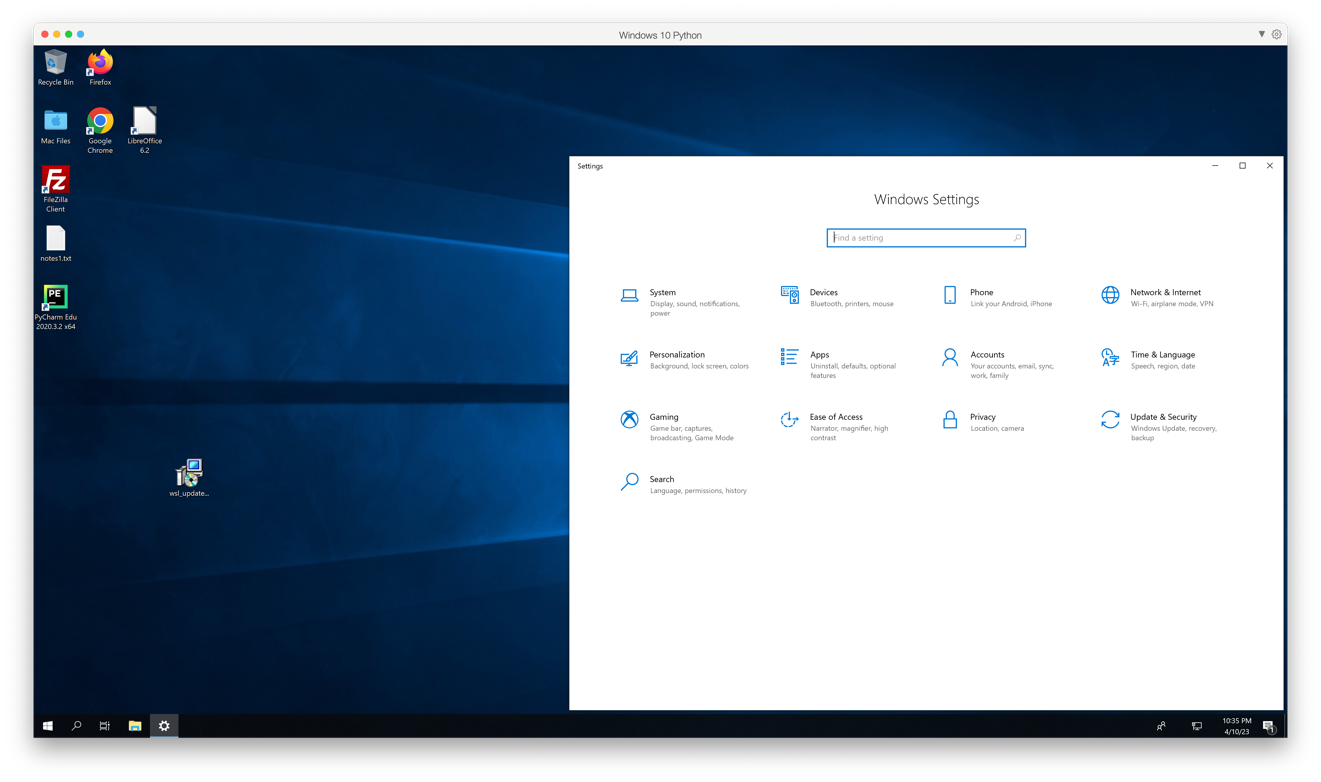
Start a Windows 10 or 11 client. Remote Desktop is not available on the Windows 10/11 Home Editions. The images below are from a Windows 10 client.
Alternatively, if you are on a Linux machine, you can use the Remmina Remote Desktop Viewer to access the remote environment.Search for and open the Windows Settings menu. Select System.

-
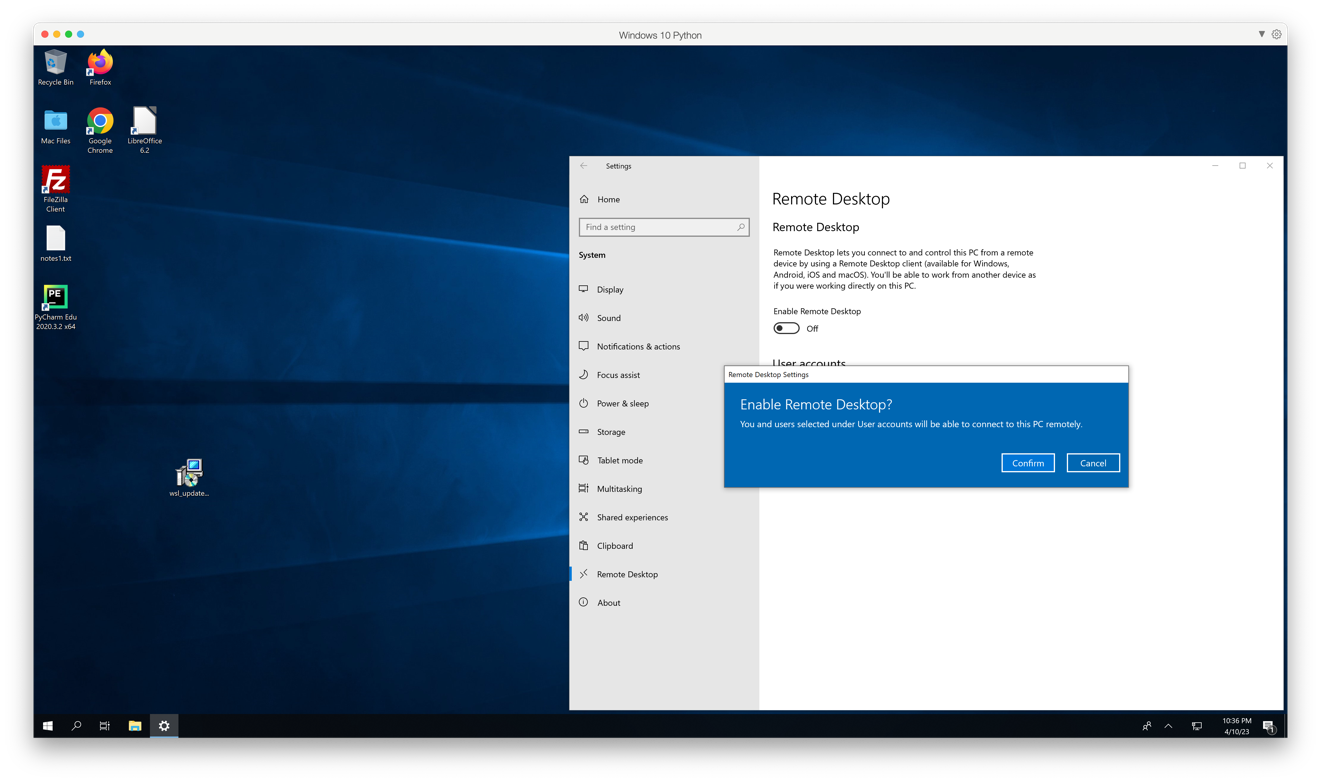
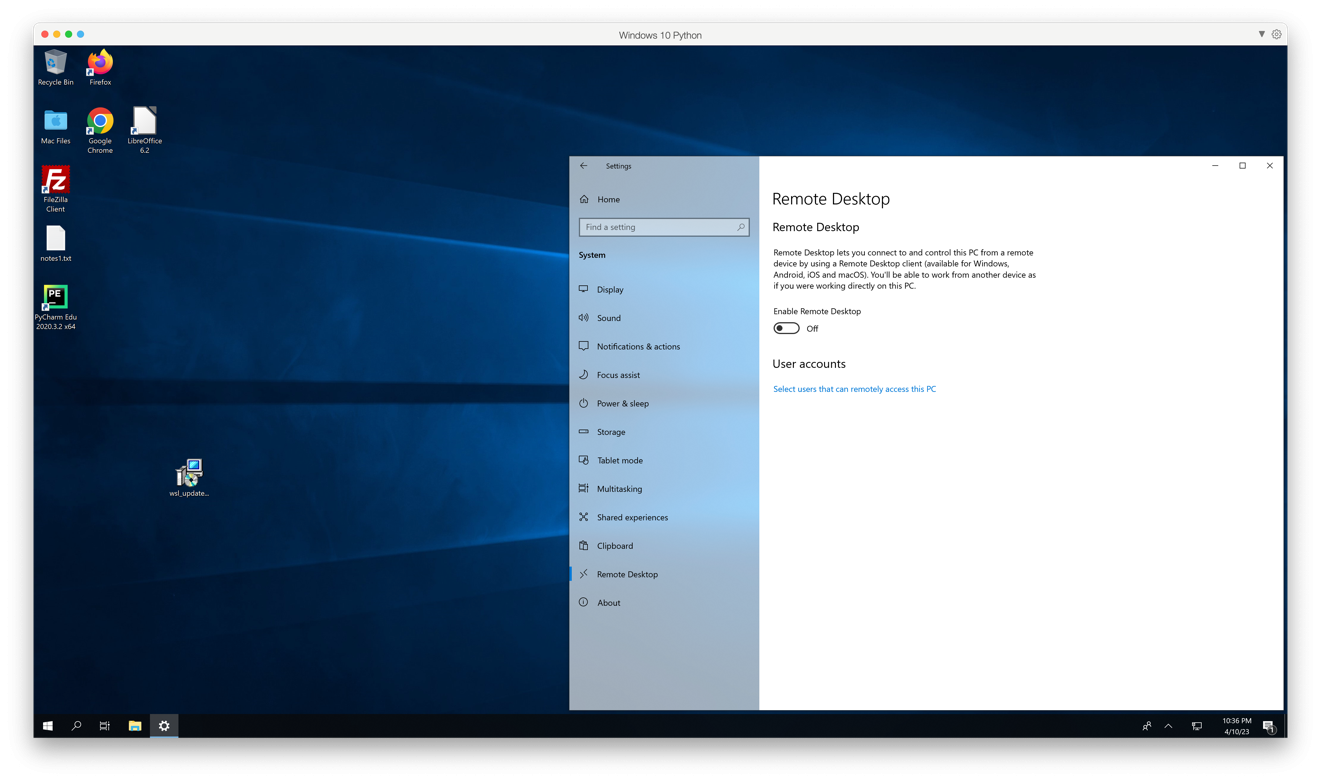
Select Remote Desktop.

-
Enable Remote Desktop.

-
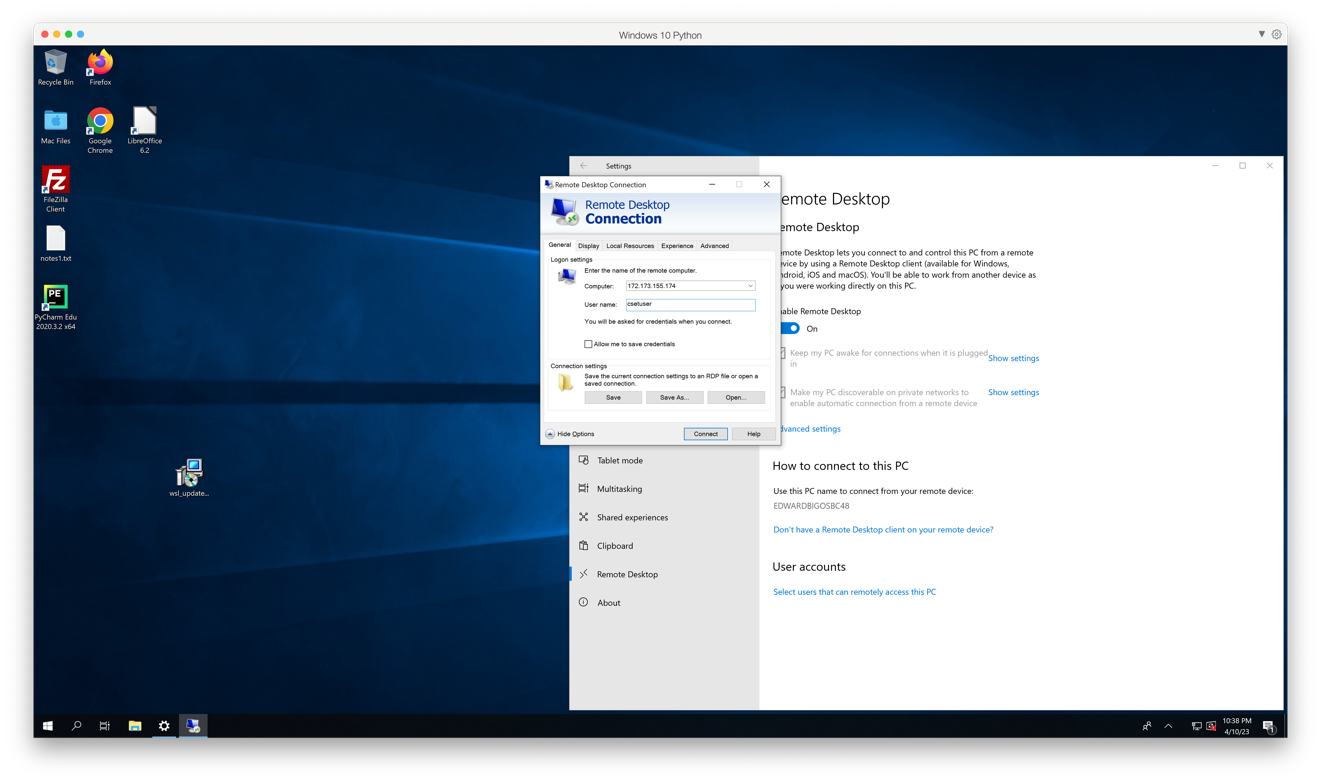
Search for the Remote Desktop app then start the application.

-
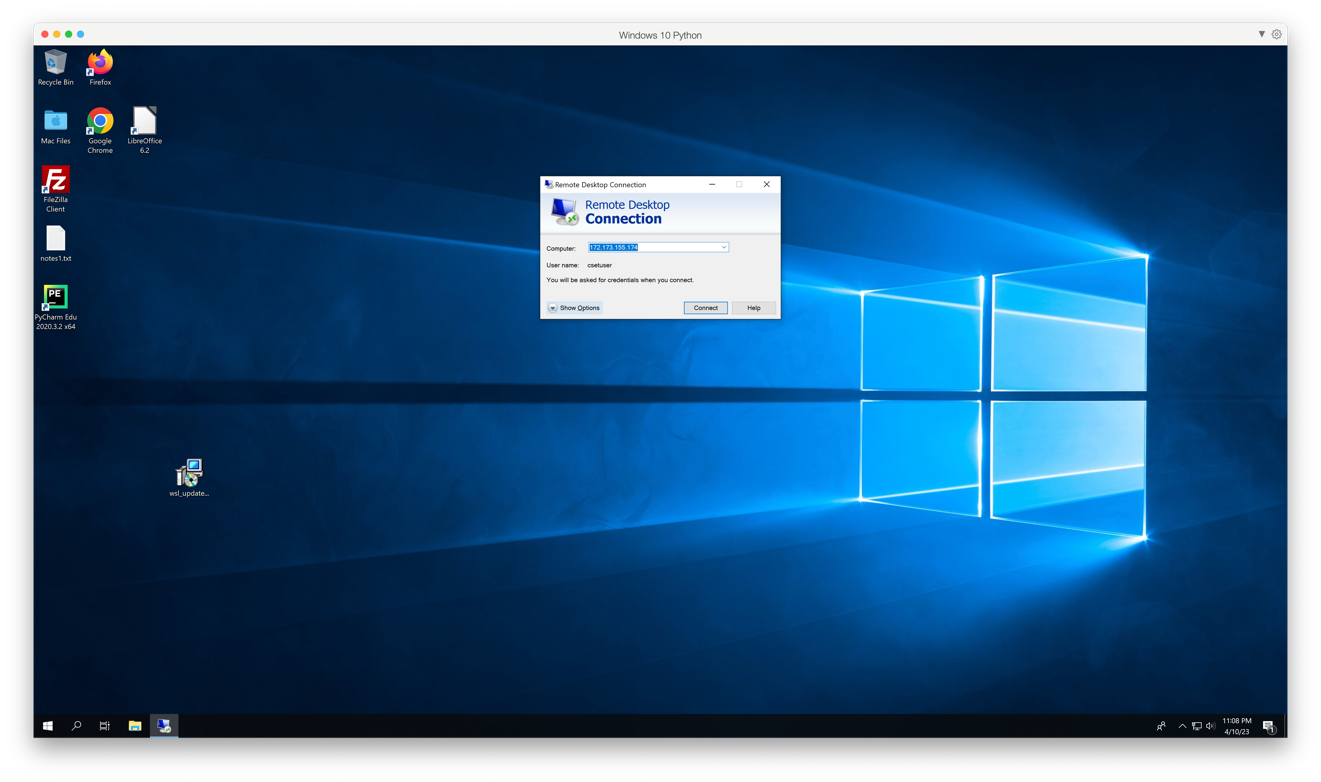
Copy the public IPV4 address of your virtual machine to the clipboard. Paste it into the Computer field in Remote Desktop. Select Show More Options.

-
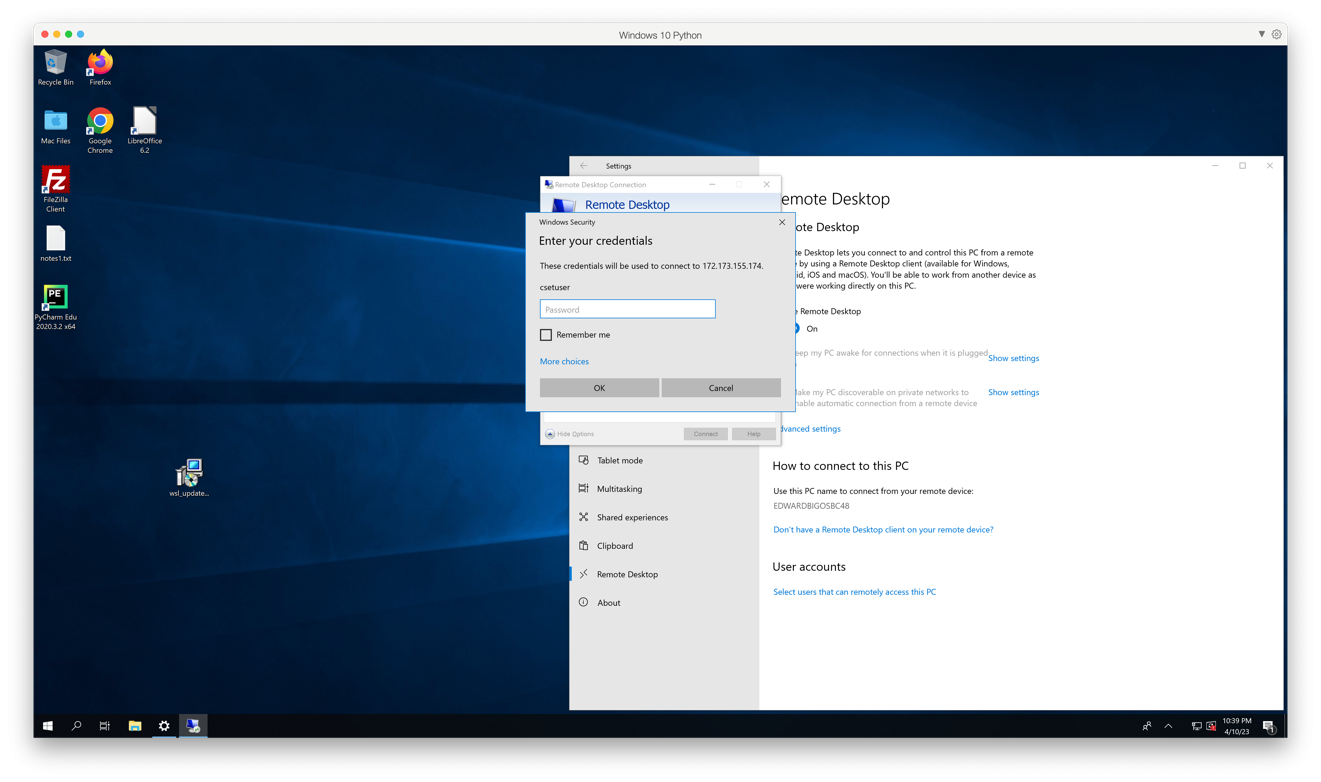
Enter the username for the Windows 2016 Server. Choose connect.

-
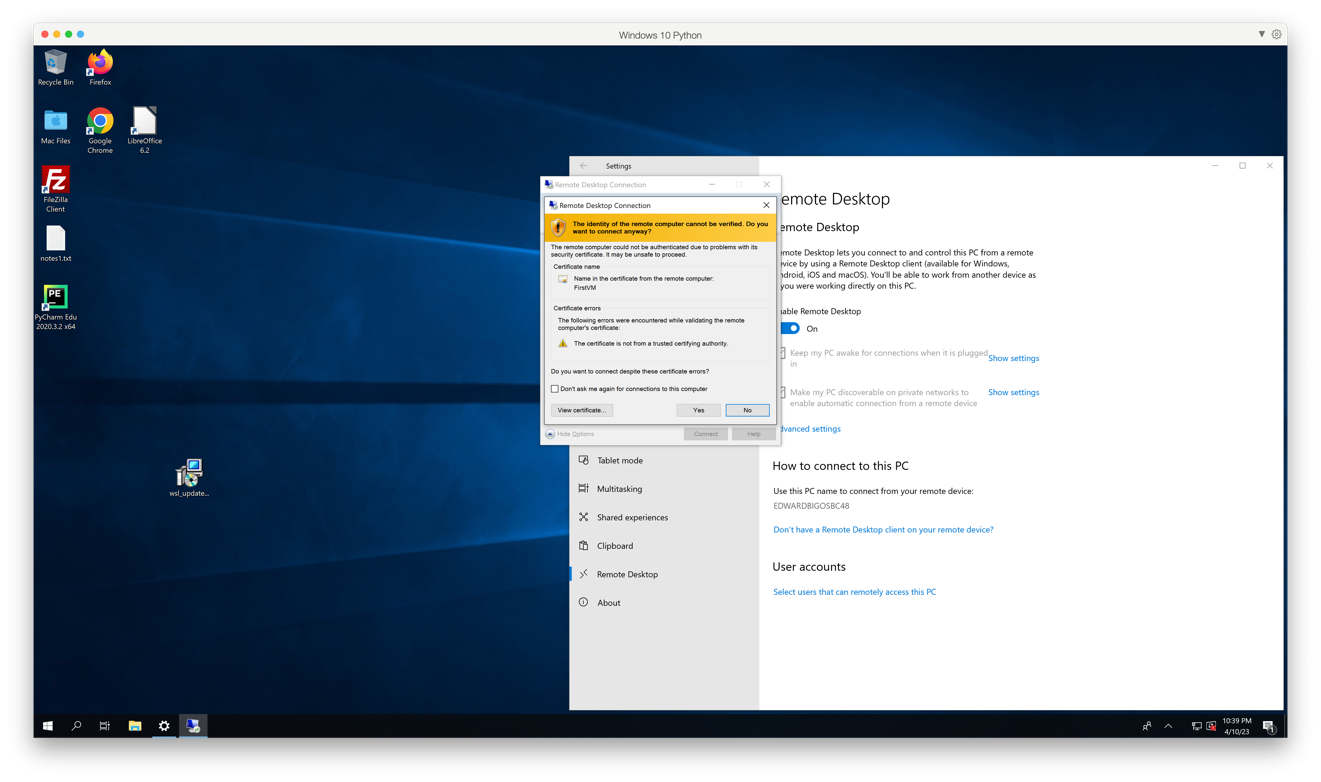
Enter the password. Enter Yes to the security warning.
-
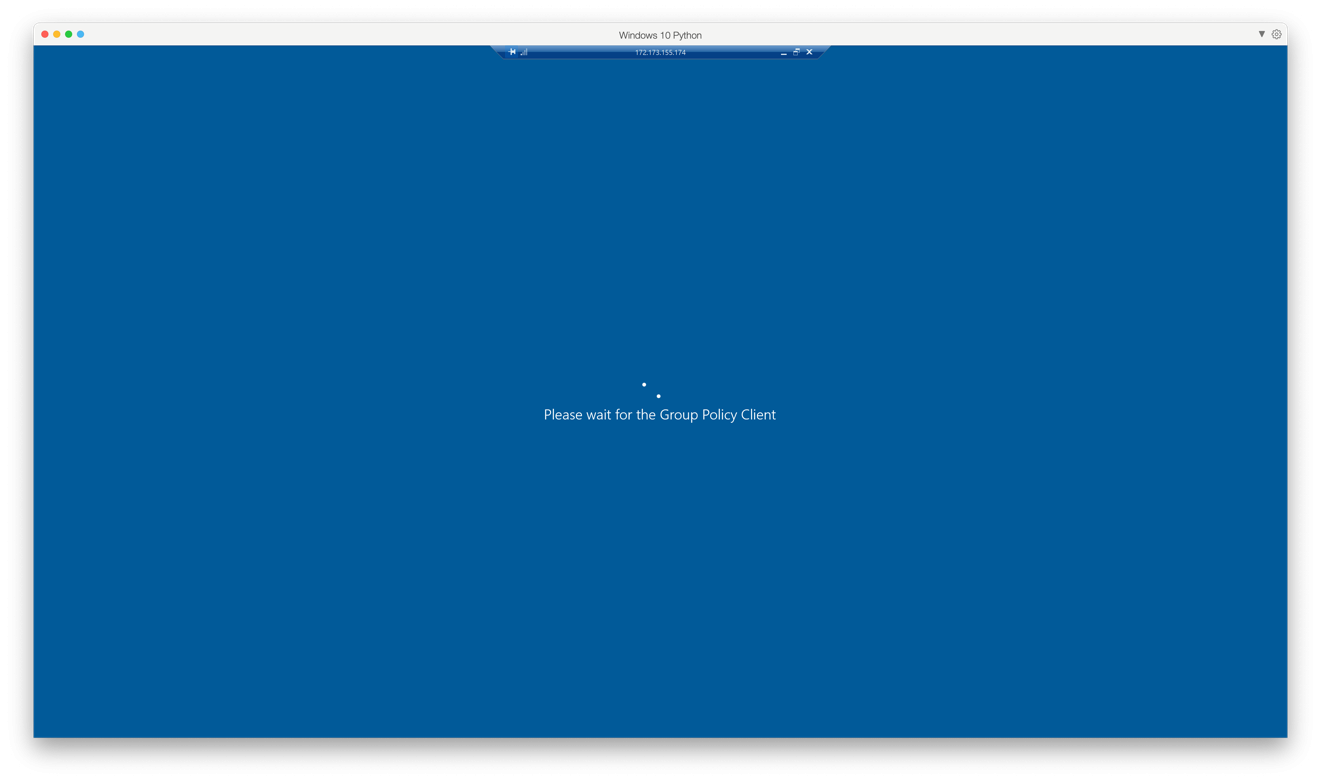
Windows 10 initiates a remote desktop connection to the Windows 2016 server using the public IPV4 address.
-
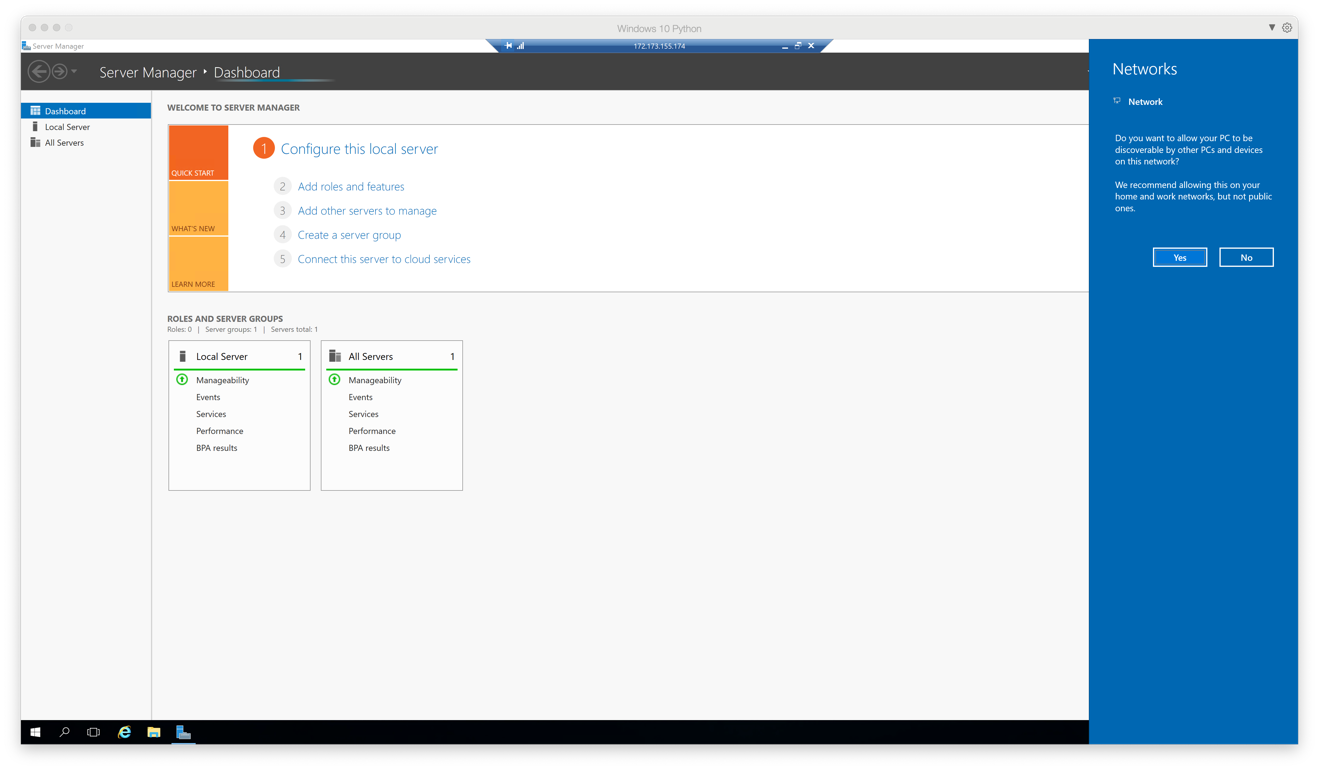
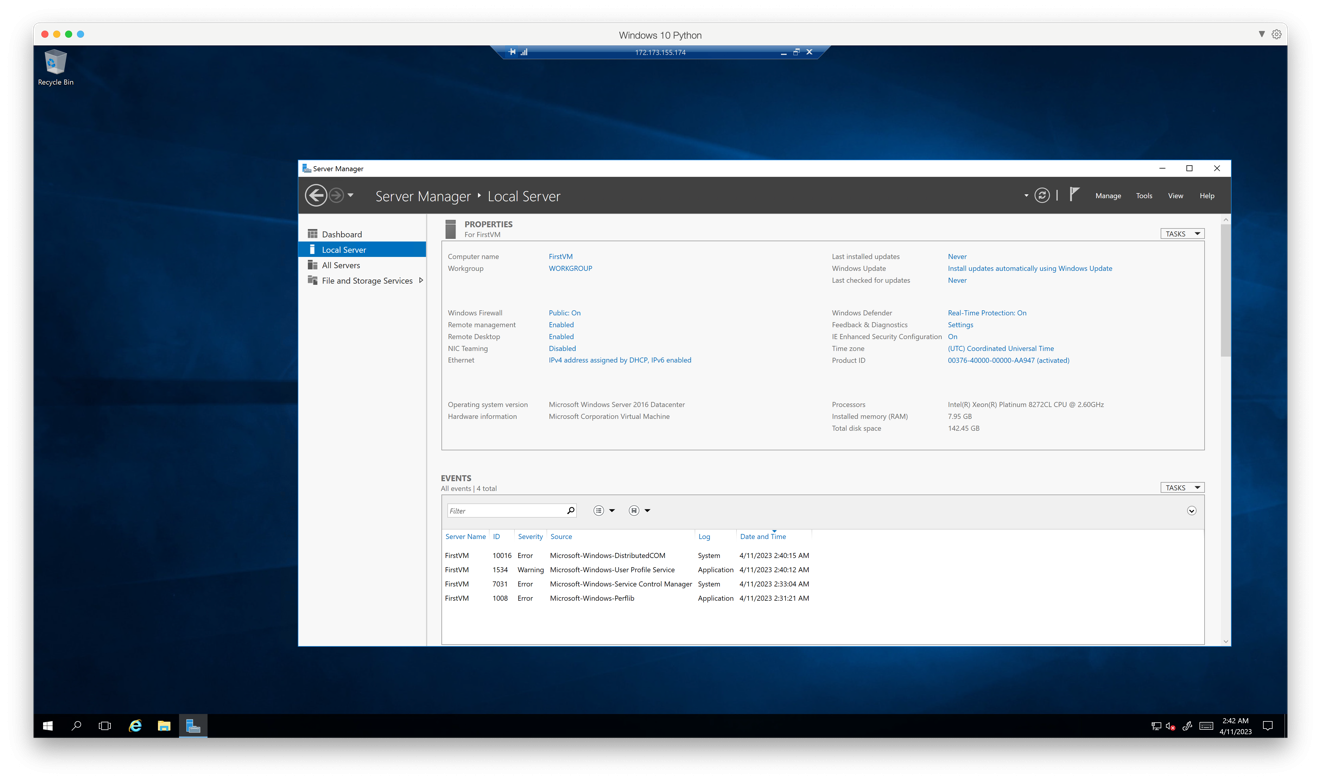
The remote desktop to the Windows 2016 Server. Browse through the Windows server to convince yourself this is the same server used in the ProxMox labs.

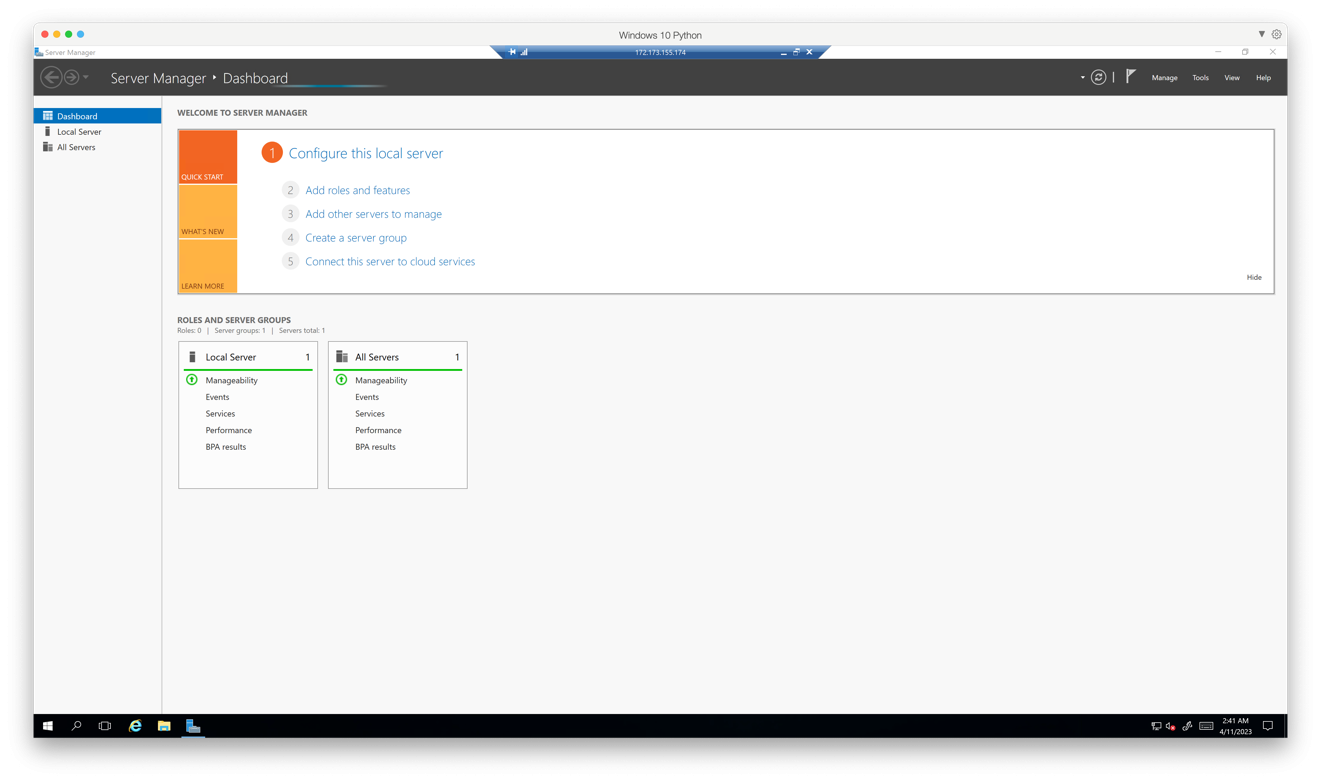
STOP. Take a screen snapshot of this screen for the lab submission.
-
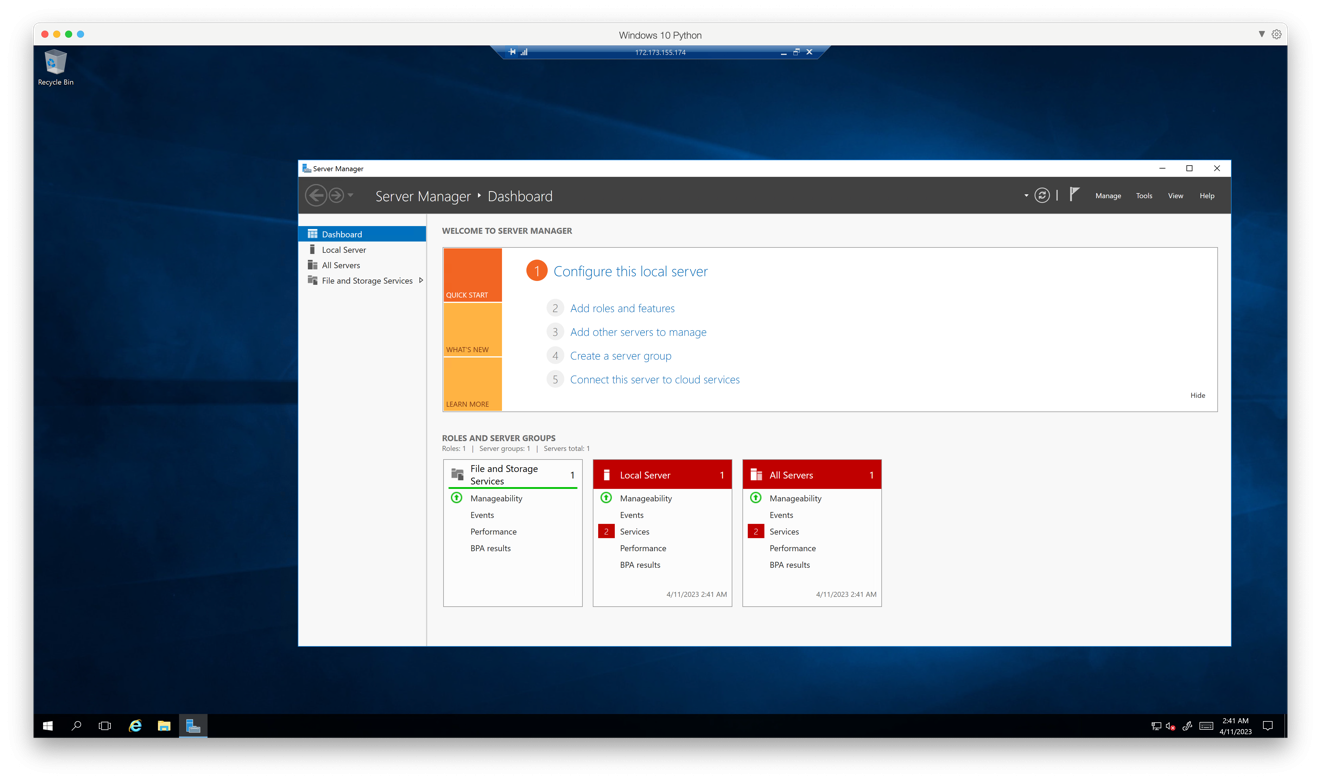
Check the red items. These features need to be configured.
-
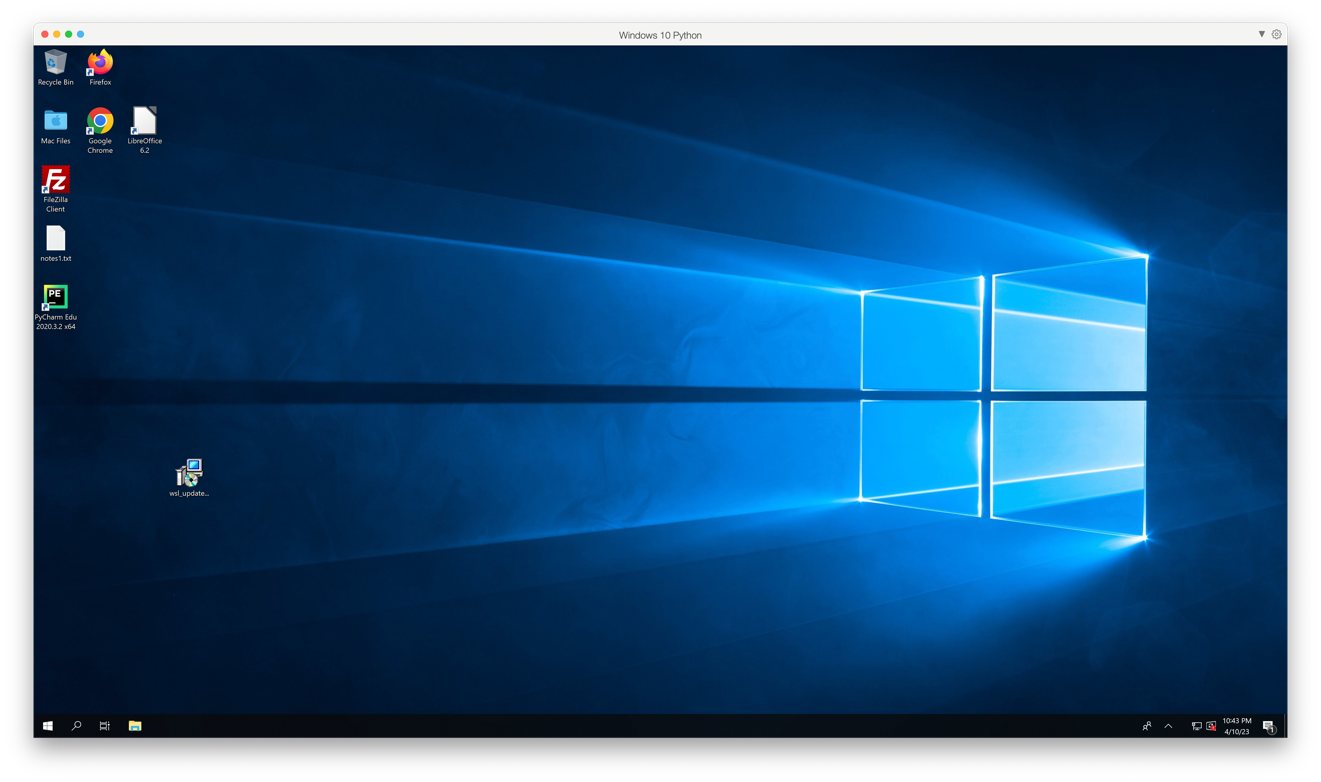
Close Server Manager. The controls for Remote Desktop are at the top of the screen. Click on the “X” to disconnect the Remote Desktop from the Windows 2016 Server.
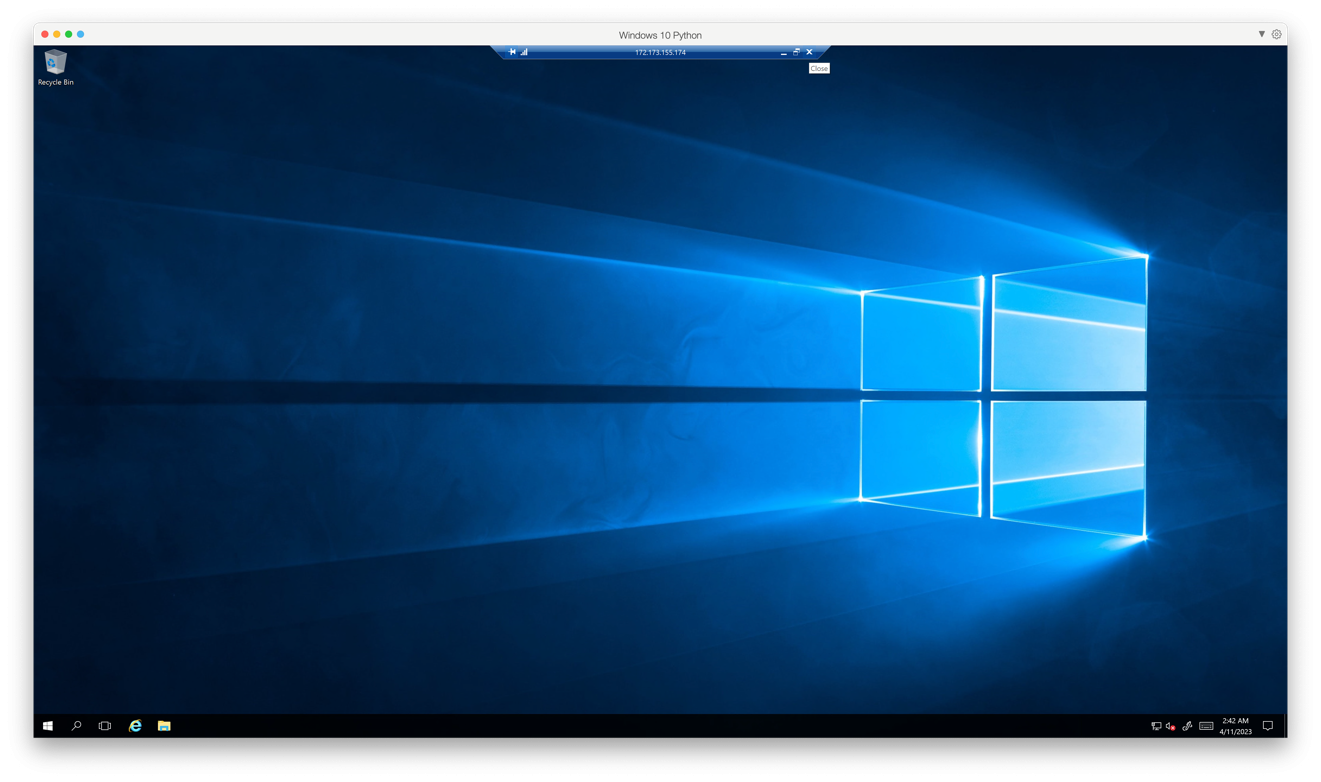
Disconnection message.
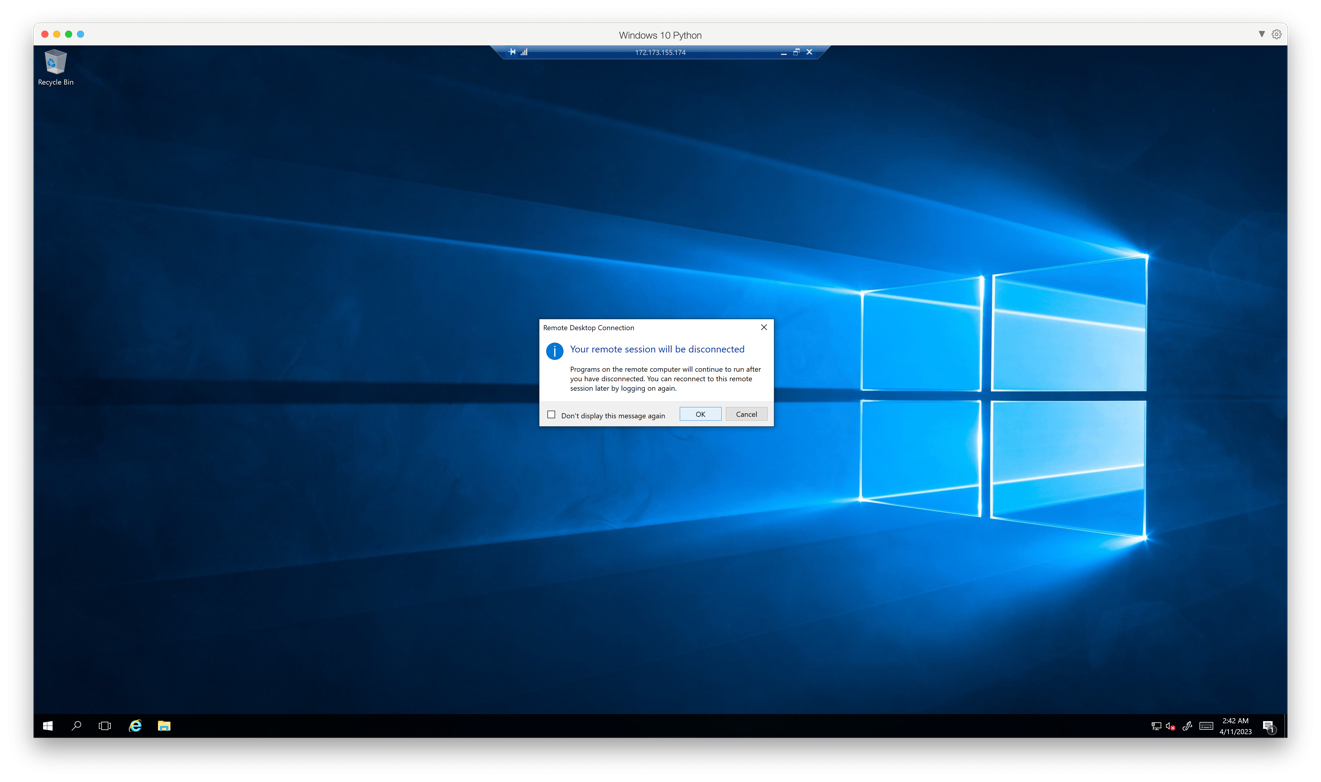
The server has been disconnected.

-
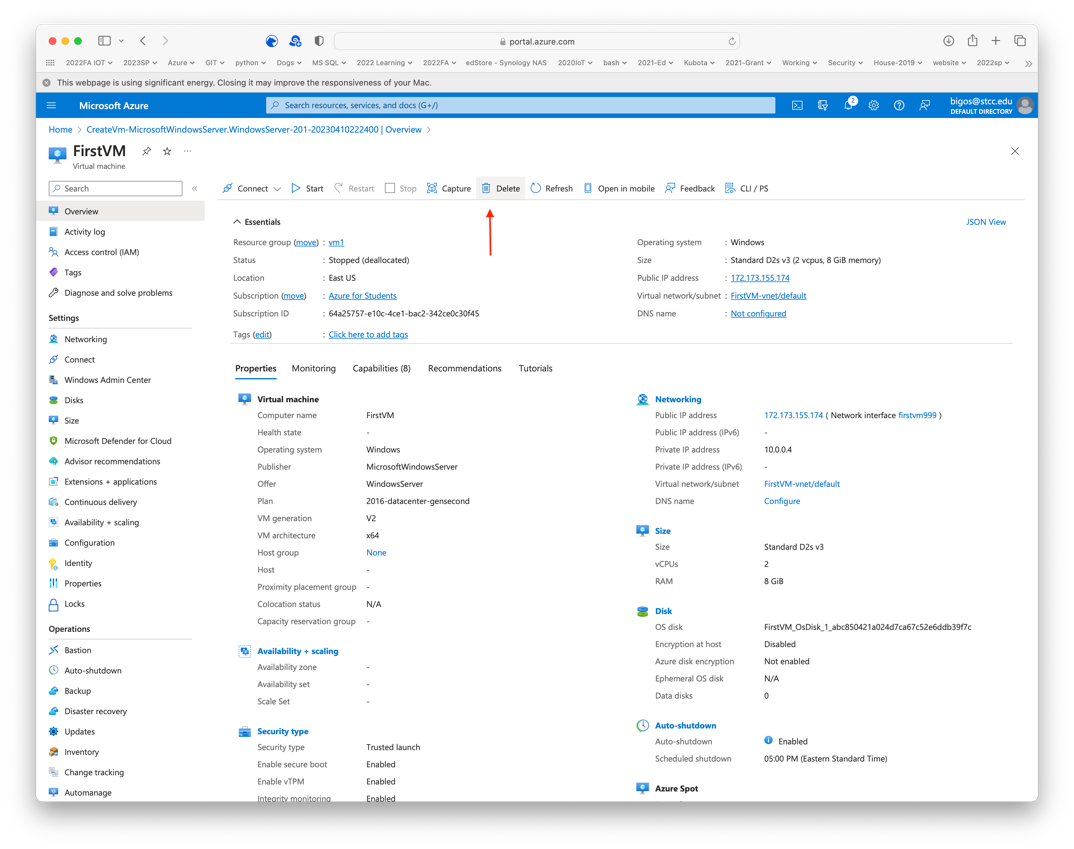
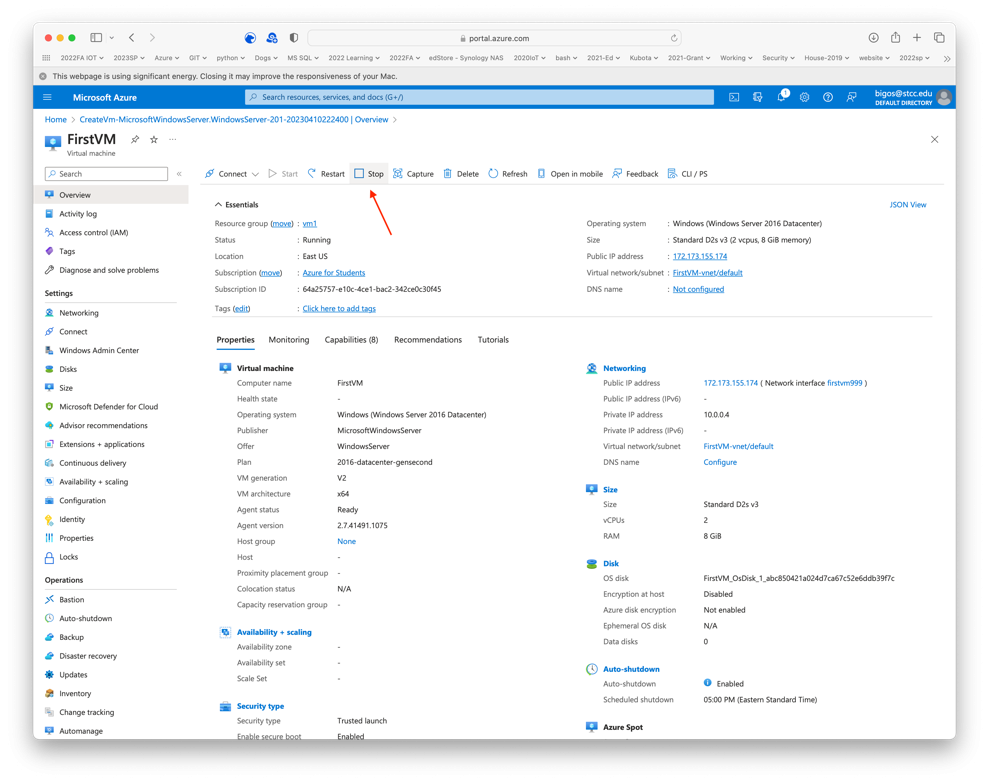
Review the status of the Windows 2016 Server in the Azure Portal.
-
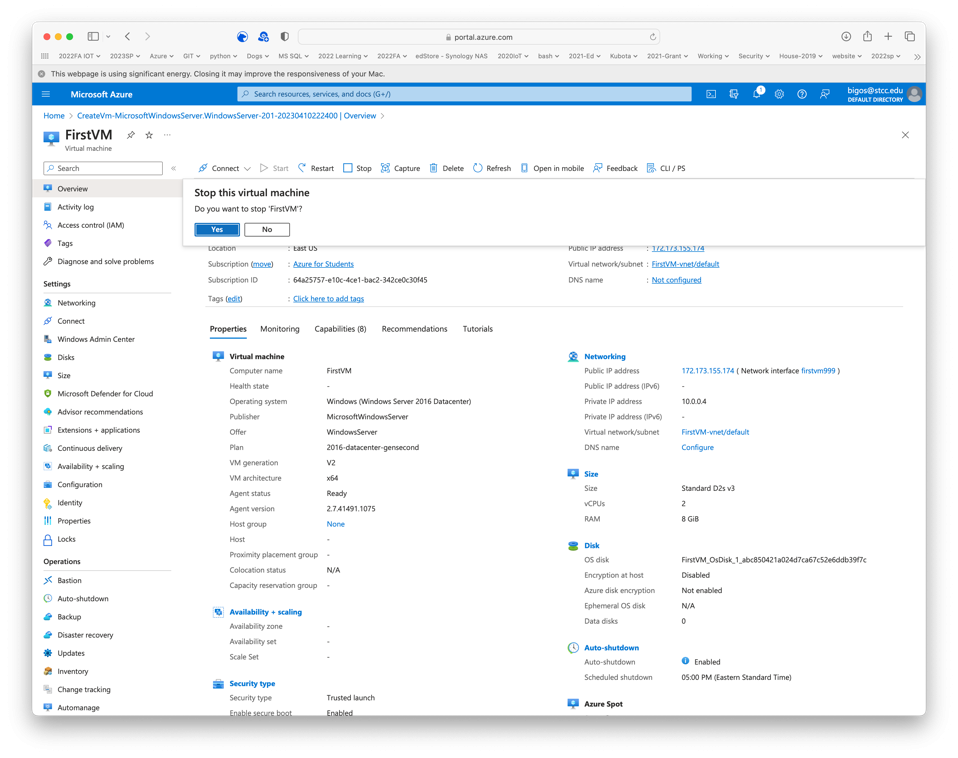
Stop the virtual machine.
-
Wait until the virtual machine stops.


-
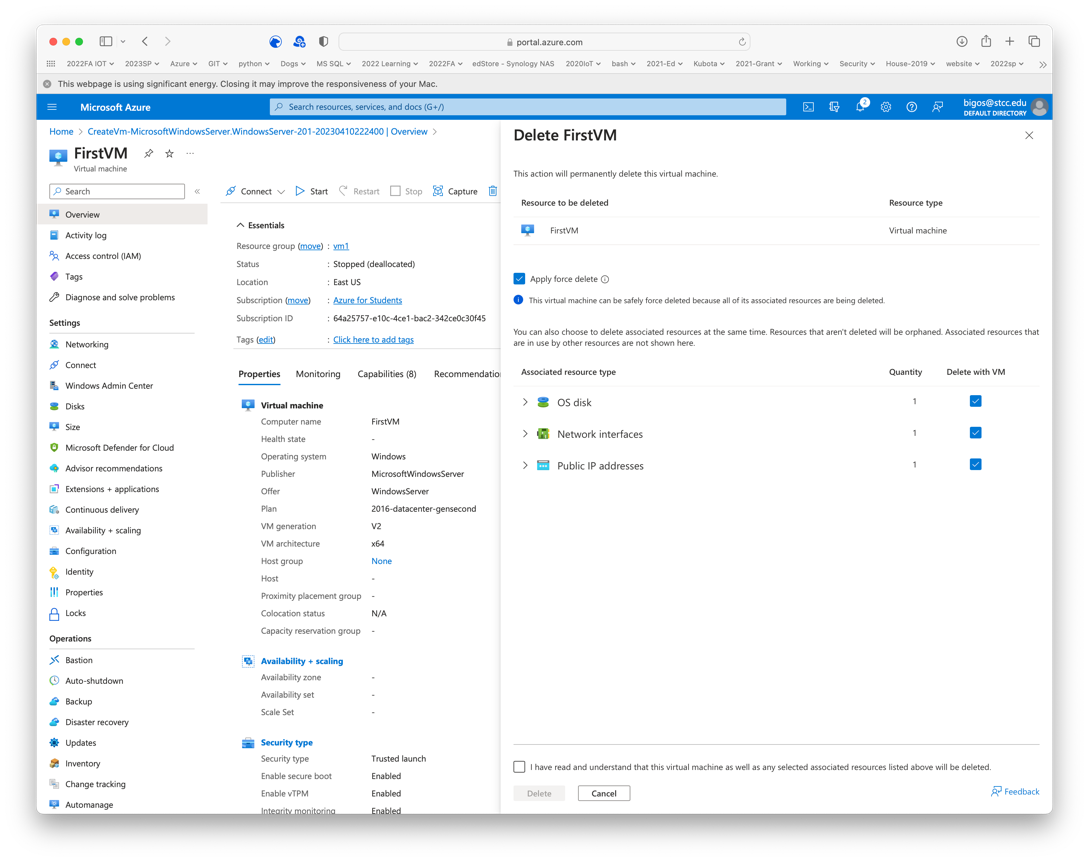
Delete the virtual machine. This exercise was to step through the process. The next lab will create another virtual machine to replace it.

Select delete for the OS disk, the network interfaces, and the public IP address.

Select Delete.
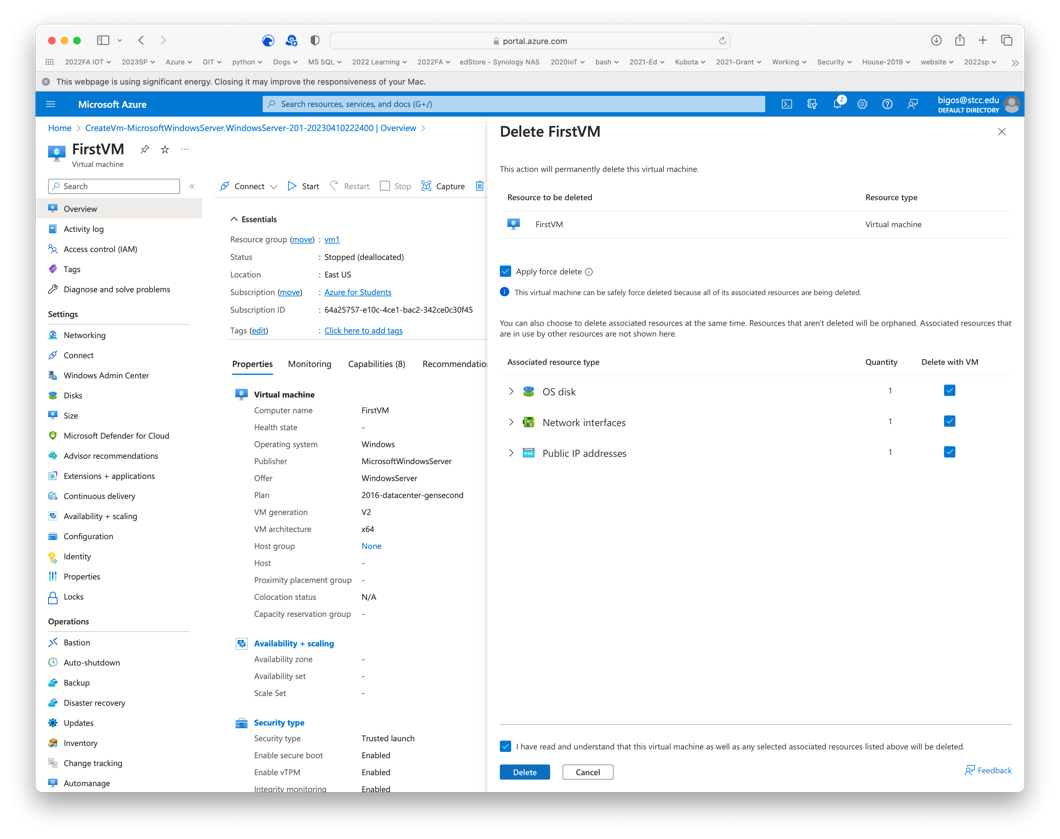
STOP. Take a screen snapshot of this screen for the lab submission.
-
The portal does not update to show the virtual machine has been deleted. Review the messages and refresh the page.